centos7下Firewall使用详解 [高级篇]
1 2 | https://www.cnblogs.com/duanxin1/p/9860913.html https://blog.csdn.net/qq_26227841/article/details/88540775 |
1. 启用IP转发
1 | vi /etc/sysctl.conf |
1 | net.ipv4.ip_forward = 1 //这行没有的话就加这行 |
1 | sysctl -p //命令生效 |
2. IP相同,端口不同 转发
192.168.122.52 端口4443
转发到
192.168.122.52 端口22
端口转发: 4443端口 – 转发到 – 22端口
[https://www.cnblogs.com/duanxin1/p/9860913.html]
2-1. 启用IP转发
1 | vi /etc/sysctl.conf |
1 | net.ipv4.ip_forward = 1 //这行没有的话就加这行 |
1 | sysctl -p //命令生效 |
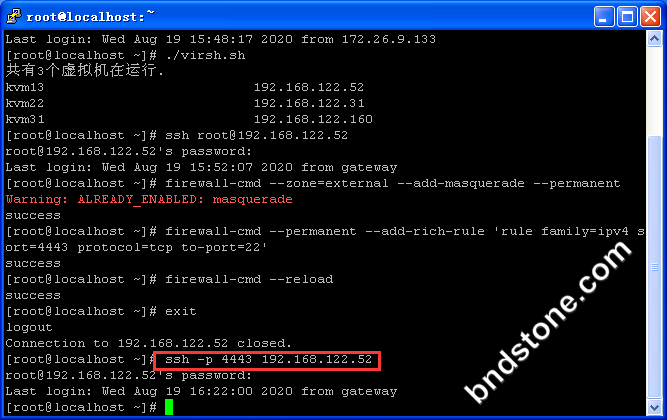
2-2. 进入192.168.122.52 ,设置firewall规则
1 2 3 | firewall-cmd --add-masquerade --permanent firewall-cmd --zone=public --permanent --add-rich-rule 'rule family=ipv4 source address=192.168.122.1/24 forward-port port=4443 protocol=tcp to-port=22' firewall-cmd --reload |
2-3. 退出192.168.122.52 ,通过以下代码进入发现已经成功
1 | ssh -p 4443 192.168.122.52 |
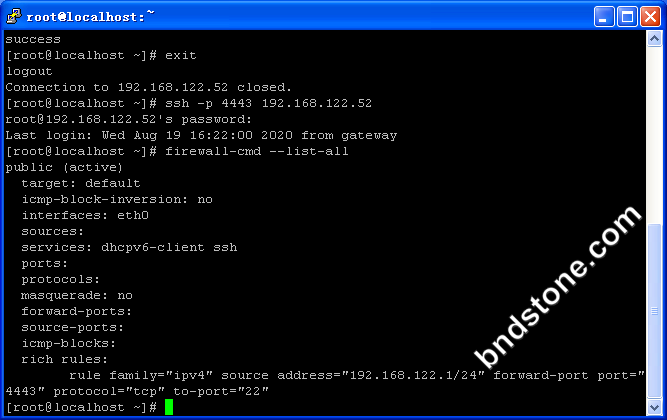
2-4. 删掉这条rich-rule,再”ssh -p 4443 192.168.122.52″连就连不上.

3. IP不同,端口不同 转发
[https://www.cnblogs.com/yang-dan/p/12090773.html]
任何人访问192.168.122.112 5555端口都给转发
192.168.122.1 —> 192.168.122.112 5555 —> 192.168.122.21 22
3-1. 进入192.168.122.112 ,启用IP转发
1 | vi /etc/sysctl.conf |
1 | net.ipv4.ip_forward = 1 //这行没有的话就加这行 |
1 | sysctl -p //命令生效 |
3-2. 在192.168.122.112 ,设置firewall规则
1 2 3 4 5 6 | systemctl start firewalld.service firewall-cmd --permanent --add-masquerade firewall-cmd --zone=public --permanent --add-rich-rule='rule family=ipv4 source address="192.168.122.1/32" forward-port port="5555" protocol="tcp" to-port="22" to-addr="192.168.122.21"' firewall-cmd --reload |
备注:
firewall-cmd –permanent –add-masquerade // 这条不能漏,要不会出现根本连不上5555端口
firewall-cmd –permanent –add-masquerade // 这条不能漏,要不会出现根本连不上5555端口
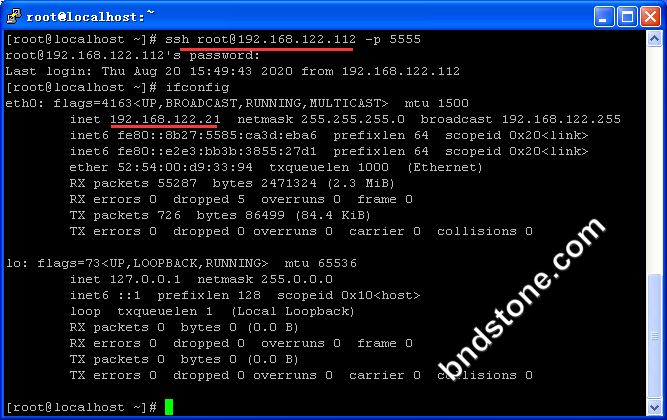
3-3. 新开一个窗口在192.168.122.1 . 向192.168.122.112 5555端口 请求连接 ,通过以下代码进入发现已经成功
1 | ssh root@192.168.122.112 -p 5555 |
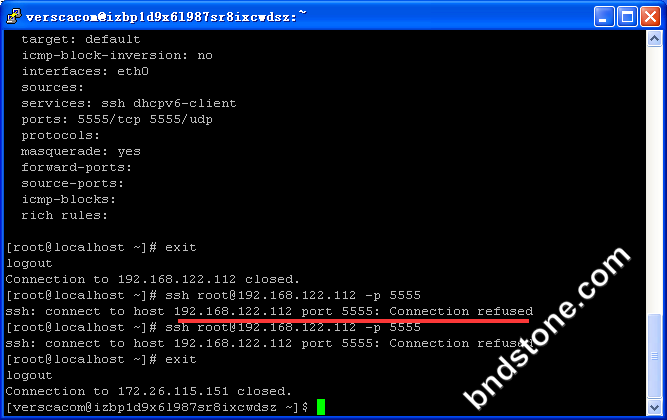
3-4. 删掉这条rich-rule,再”ssh root@192.168.122.112 -p 5555″连就连不上.
1 2 | firewall-cmd --zone=public --permanent --remove-rich-rule='rule family=ipv4 source address="192.168.122.1/32" forward-port port="5555" protocol="tcp" to-port="22" to-addr="192.168.122.21"' firewall-cmd --permanent --remove-masquerade |
1 | ssh root@192.168.122.112 -p 5555 |
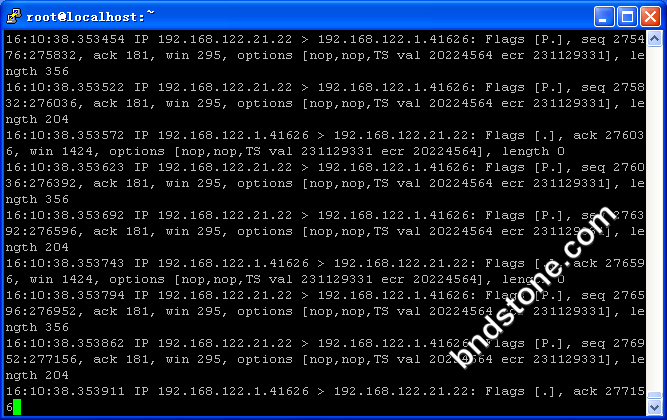
3-5. 管理上抓包 [192.168.122.112 这台服务器]
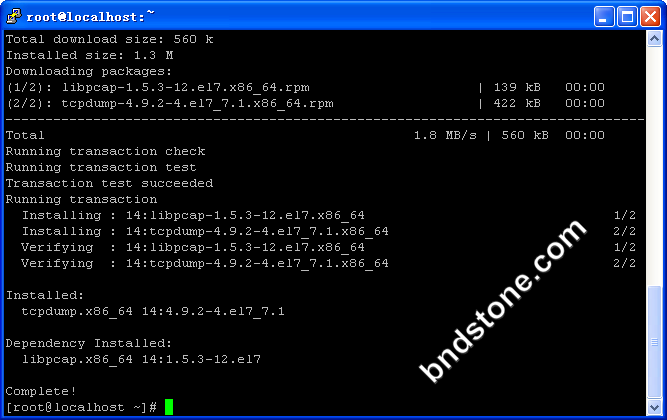
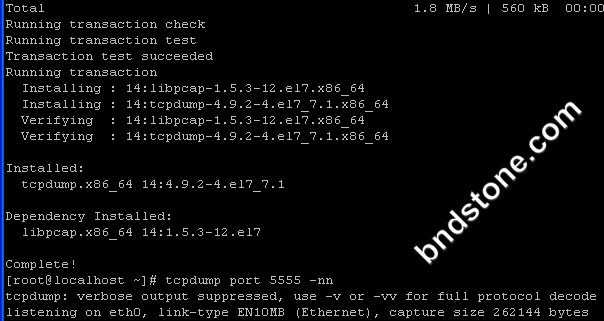
1 2 | yum install -y tcpdump //安装tcpdump工具 tcpdump port 5555 -nn |
3-6. 后端主机的抓包 [192.168.122.21 这台服务器]
1 2 | yum install -y tcpdump //安装tcpdump工具 tcpdump -i eth0 port 22 -nn //备注: eth0 是对应网卡 |
