Docker 上安装 centos 6.8 ,然后安装桌面环境及vncserver远程查询国外网站.
1. 创建centos 6 的 docker
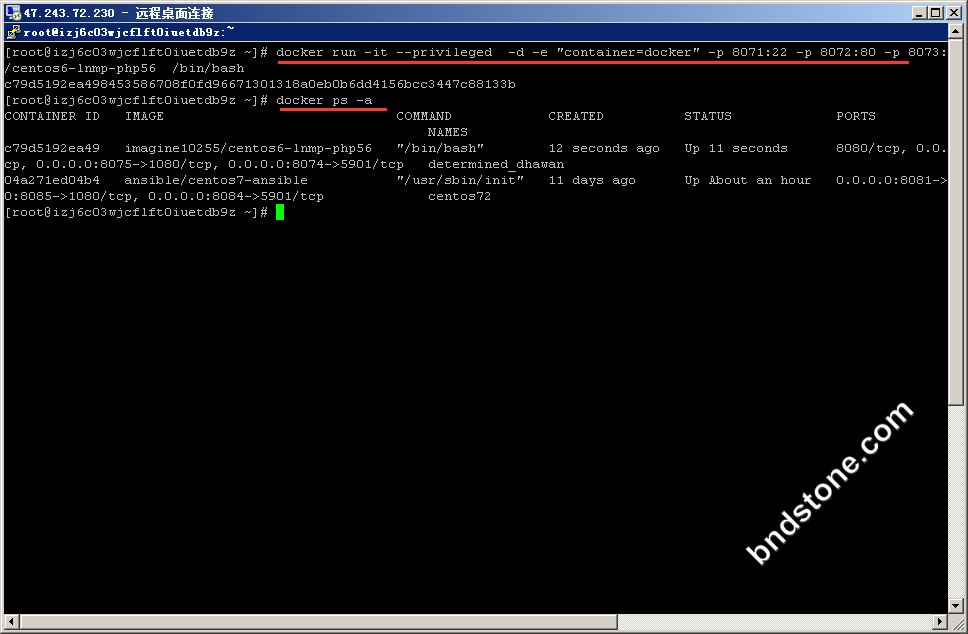
1 2 3 | docker run --name centos6 -it --privileged -d -e "container=docker" -p 8071:22 -p 8064:22 -p 8074:80 -p 8084:443 -p 8094:5901 --restart always imagine10255/centos6-lnmp-php56 /bin/bash docker ps -a docker exec -it centos6 /bin/bash //进入容器 |
2-1. 查看centos版本:
1 | cat /etc/redhat-release |
2-2. 返回如下信息:
1 | CentOS release 6.8 (Final) |
2-3. 查看centos版本:
1 | rpm -q centos-release |
2-4. 返回如下信息:
1 | centos-release-6-8.el6.centos.12.3.x86_64 |
2-5. 修改 CentOS-Base.repo 配置
1 | vi /etc/yum.repos.d/CentOS-Base.repo |
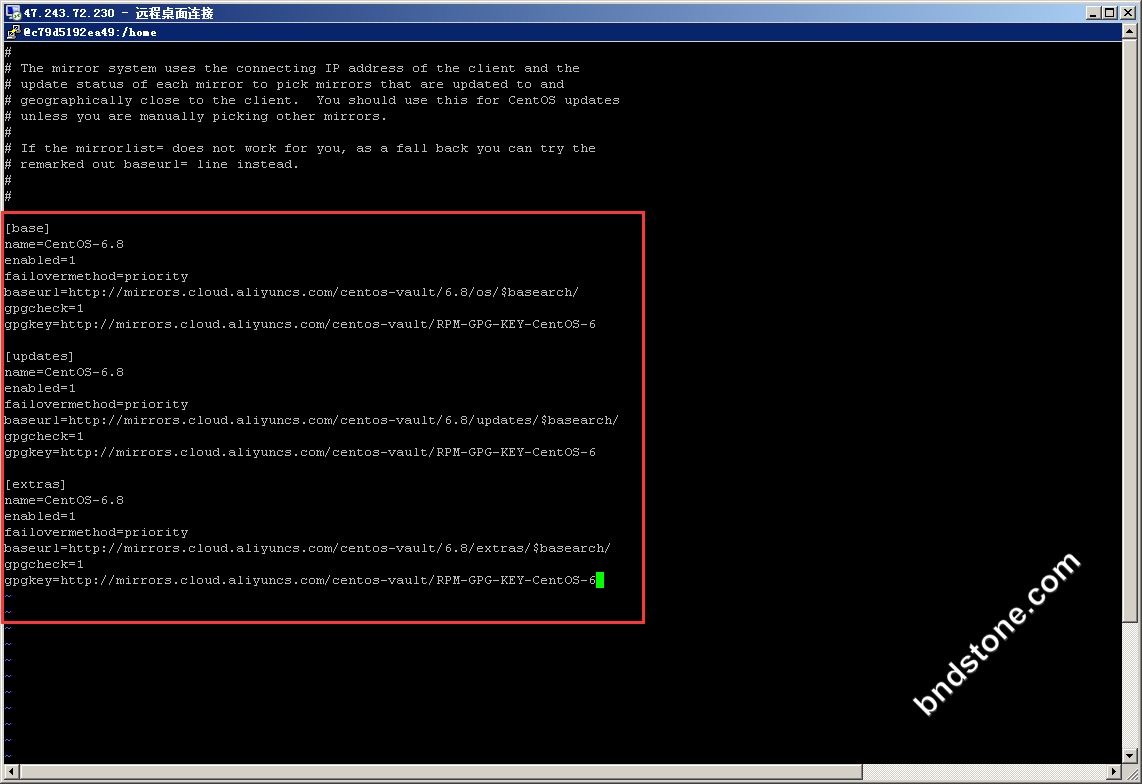
2-6. 换成如下信息
1 2 3 4 5 6 7 8 9 10 11 12 13 14 15 16 17 18 19 20 21 22 23 | [base] name=CentOS-6.8 enabled=1 failovermethod=priority baseurl=http://mirrors.cloud.aliyuncs.com/centos-vault/6.8/os/$basearch/ gpgcheck=1 gpgkey=http://mirrors.cloud.aliyuncs.com/centos-vault/RPM-GPG-KEY-CentOS-6 [updates] name=CentOS-6.8 enabled=1 failovermethod=priority baseurl=http://mirrors.cloud.aliyuncs.com/centos-vault/6.8/updates/$basearch/ gpgcheck=1 gpgkey=http://mirrors.cloud.aliyuncs.com/centos-vault/RPM-GPG-KEY-CentOS-6 [extras] name=CentOS-6.8 enabled=1 failovermethod=priority baseurl=http://mirrors.cloud.aliyuncs.com/centos-vault/6.8/extras/$basearch/ gpgcheck=1 gpgkey=http://mirrors.cloud.aliyuncs.com/centos-vault/RPM-GPG-KEY-CentOS-6 |
2-7. 修改 epel.repo 配置
1 | vi /etc/yum.repos.d/epel.repo |
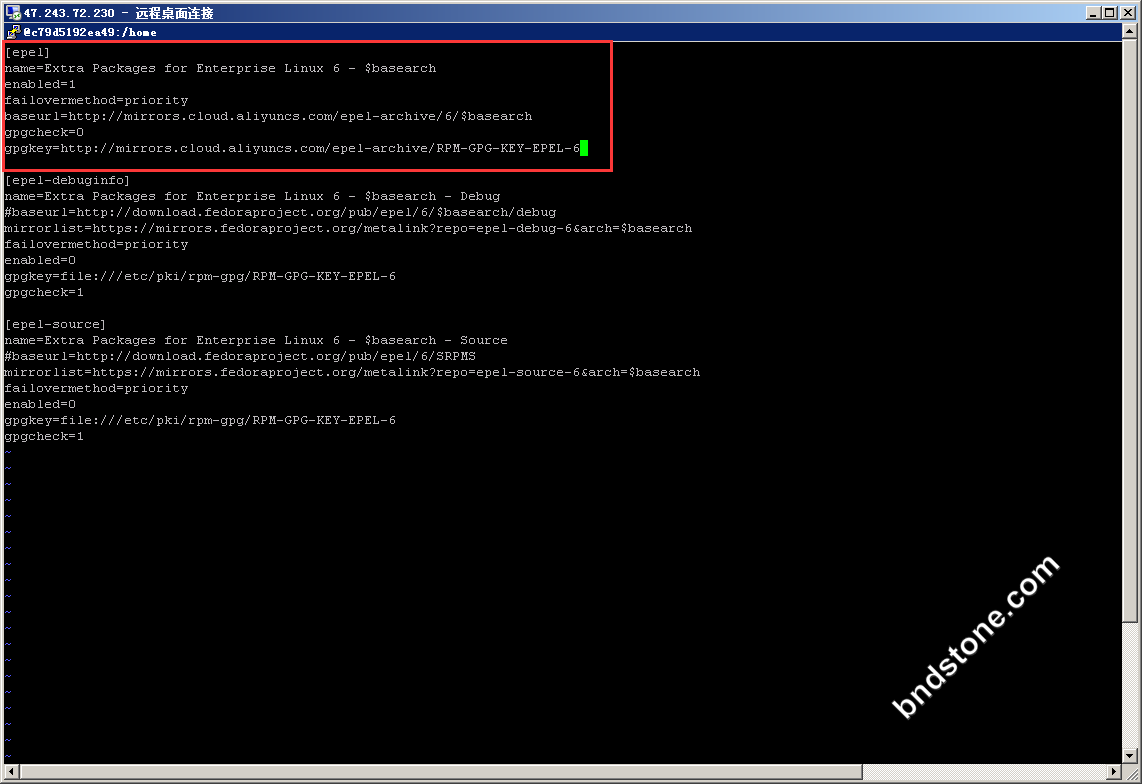
2-8. [epel]信息修改如下
1 2 3 4 5 6 7 | [epel] name=Extra Packages for Enterprise Linux 6 - $basearch enabled=1 failovermethod=priority baseurl=http://mirrors.cloud.aliyuncs.com/epel-archive/6/$basearch gpgcheck=0 gpgkey=http://mirrors.cloud.aliyuncs.com/epel-archive/RPM-GPG-KEY-EPEL-6 |
2-8. yum 更新
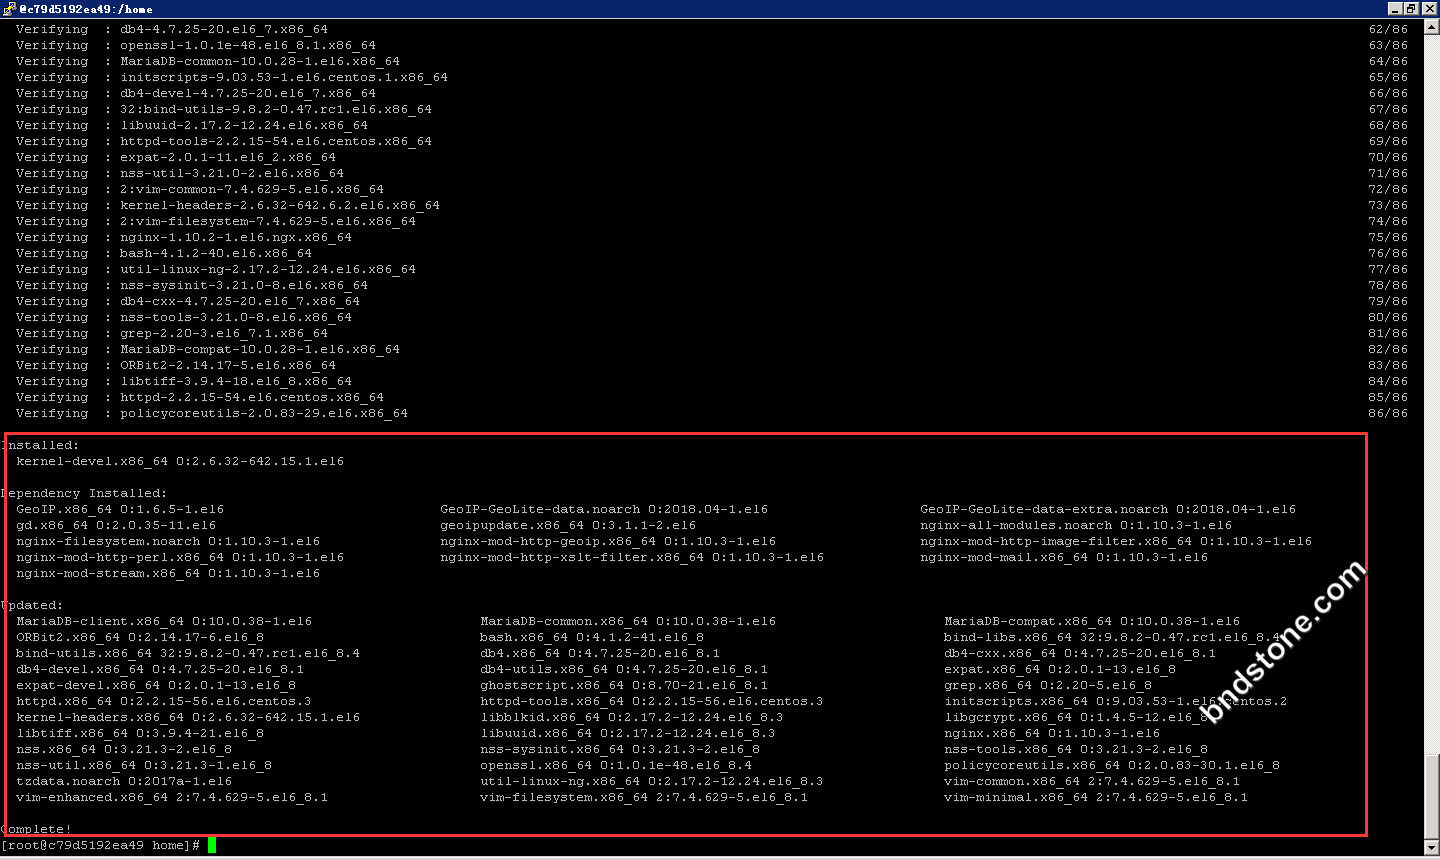
1 | yum update -y |
3-1. 安装 openssh-server
1 | yum install -y openssh-server |
3-2. 配置 sshd_config
1 | vi /etc/ssh/sshd_config |
1 2 3 4 | LoginGraceTime 2m //#去掉,改为600m PermitRootLogin yes //#去掉 StrictModes yes //#去掉 PasswordAuthentication yes //这边no要改成yes |
3-3. 设置root密码
1 | passwd root |
3-4. 重启sshd
1 | service sshd restart //centos6 之前没有 systemctl restart sshd.service |
3-5. 重启
1 | reboot -f // reboot 重启不了时就加 -f 强制重启 |
4-0. 通过 ssh ssh root@172.17.0.2 进入虚拟机
1 | ssh root@172.17.0.2 |
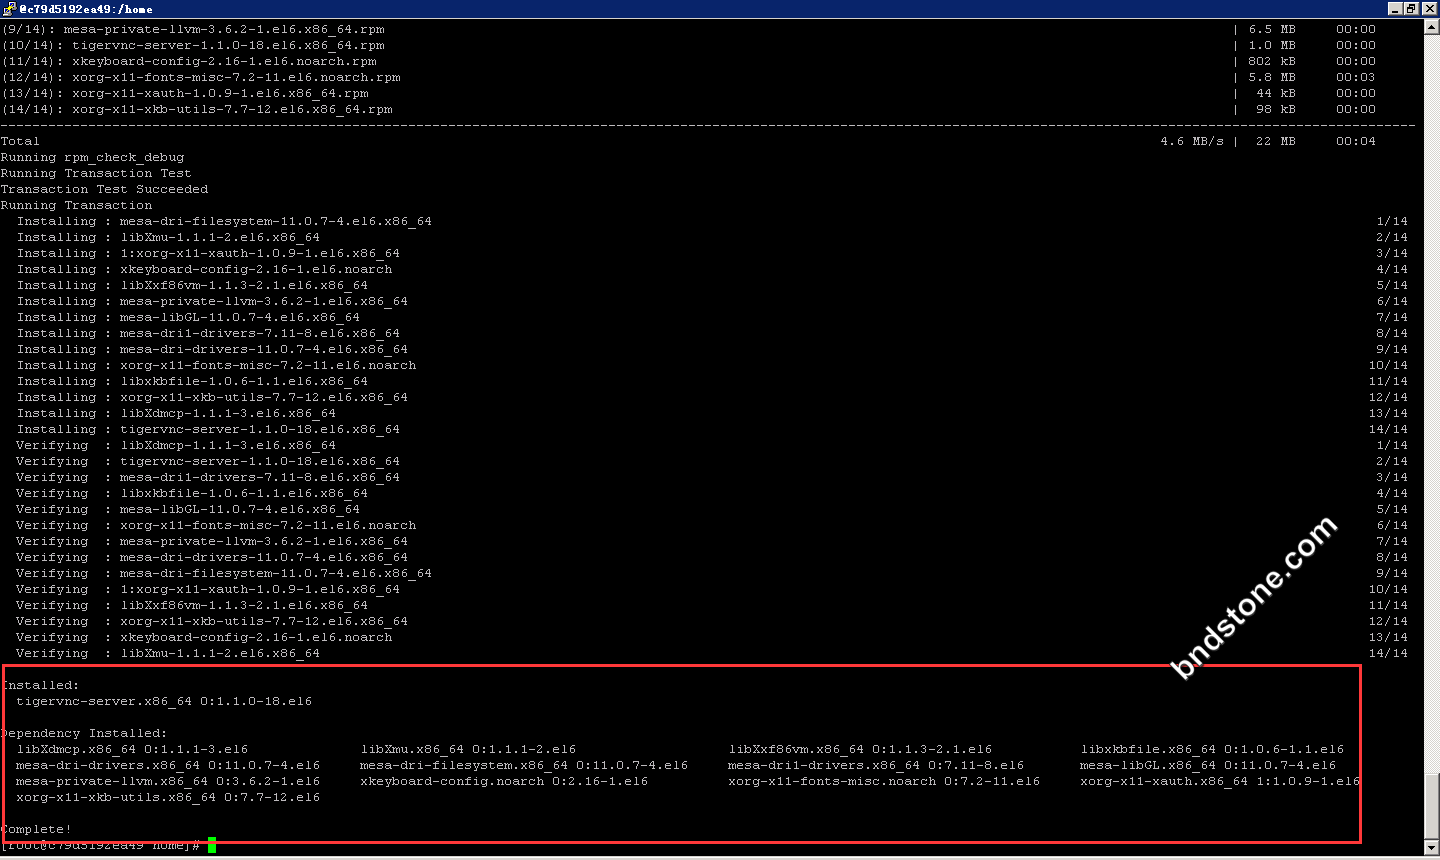
4-1. 安装tigervnc-server
1 | yum install tigervnc-server -y |
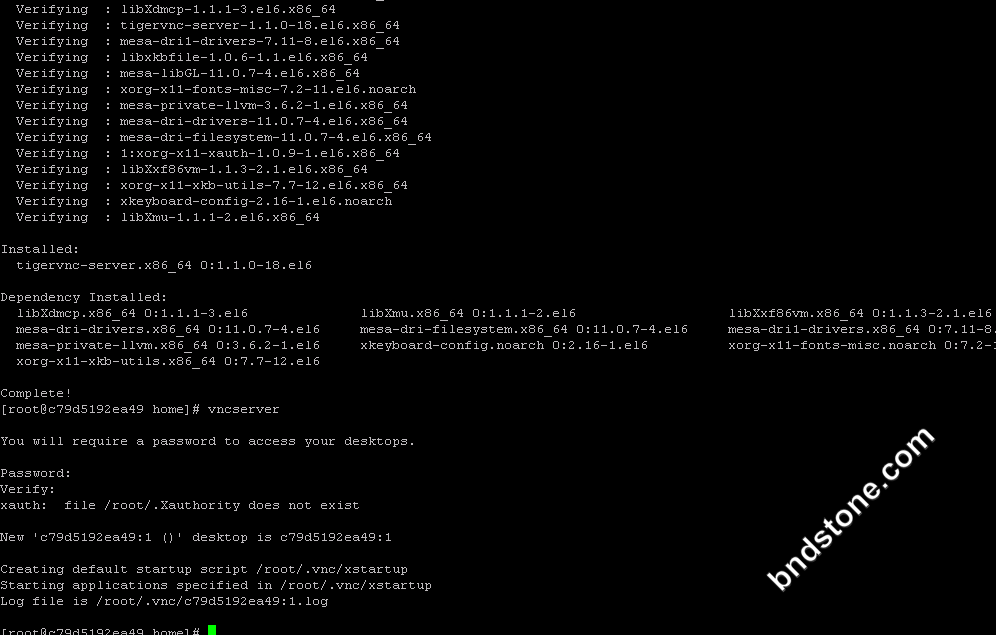
4-2. 启动VNC
1 | vncserver //启动vnc ,输入两次密码 |
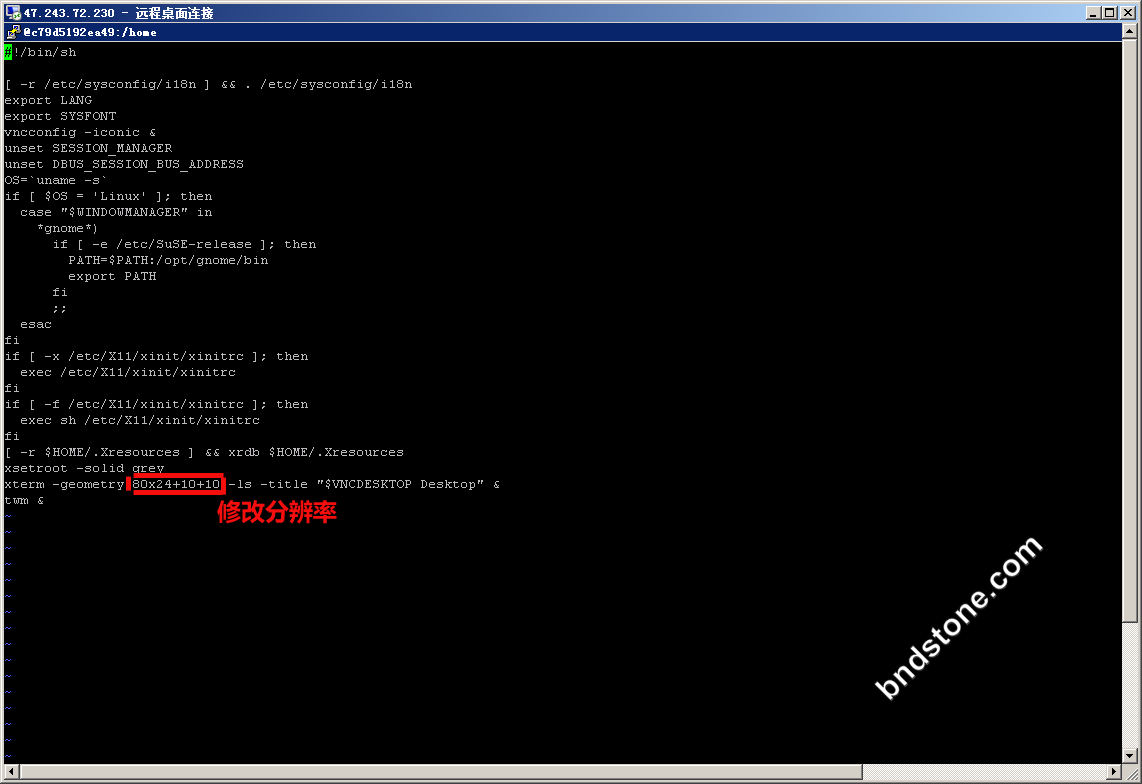
4-3. 修改配置文件
1 | vi /root/.vnc/xstartup //编辑配置文件,我保持默认 |
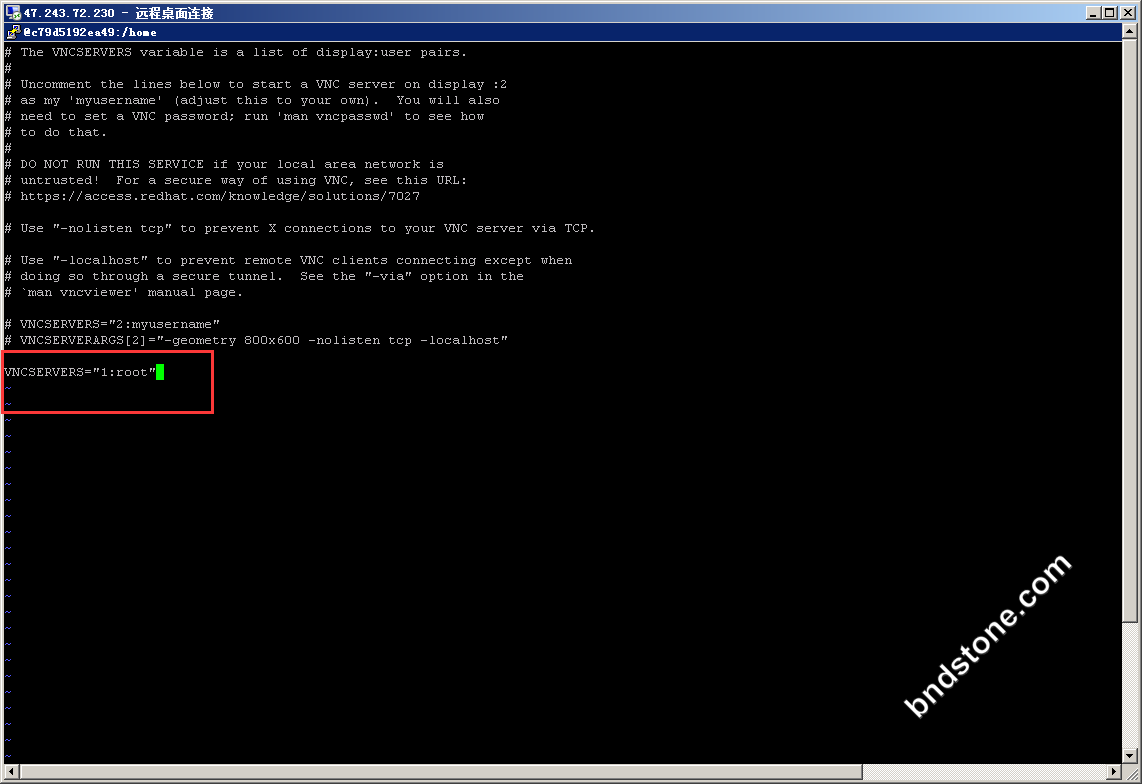
1 | vi /etc/sysconfig/vncservers |
1 | VNCSERVERS="1:root" |
4-4. 重启vnc服务
1 | service vncserver restart |
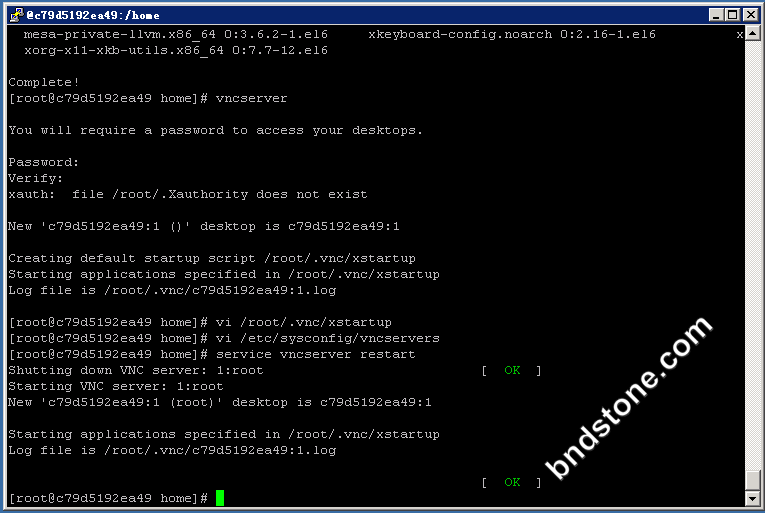
5-1. 安装桌面环境
1 2 3 | yum groupinstall "Desktop" -y //安装GNOME桌面环境 yum groupinstall "X Window System" -y //安装xwindow yum groupinstall "Chinese Support" -y //安装中文支持 |
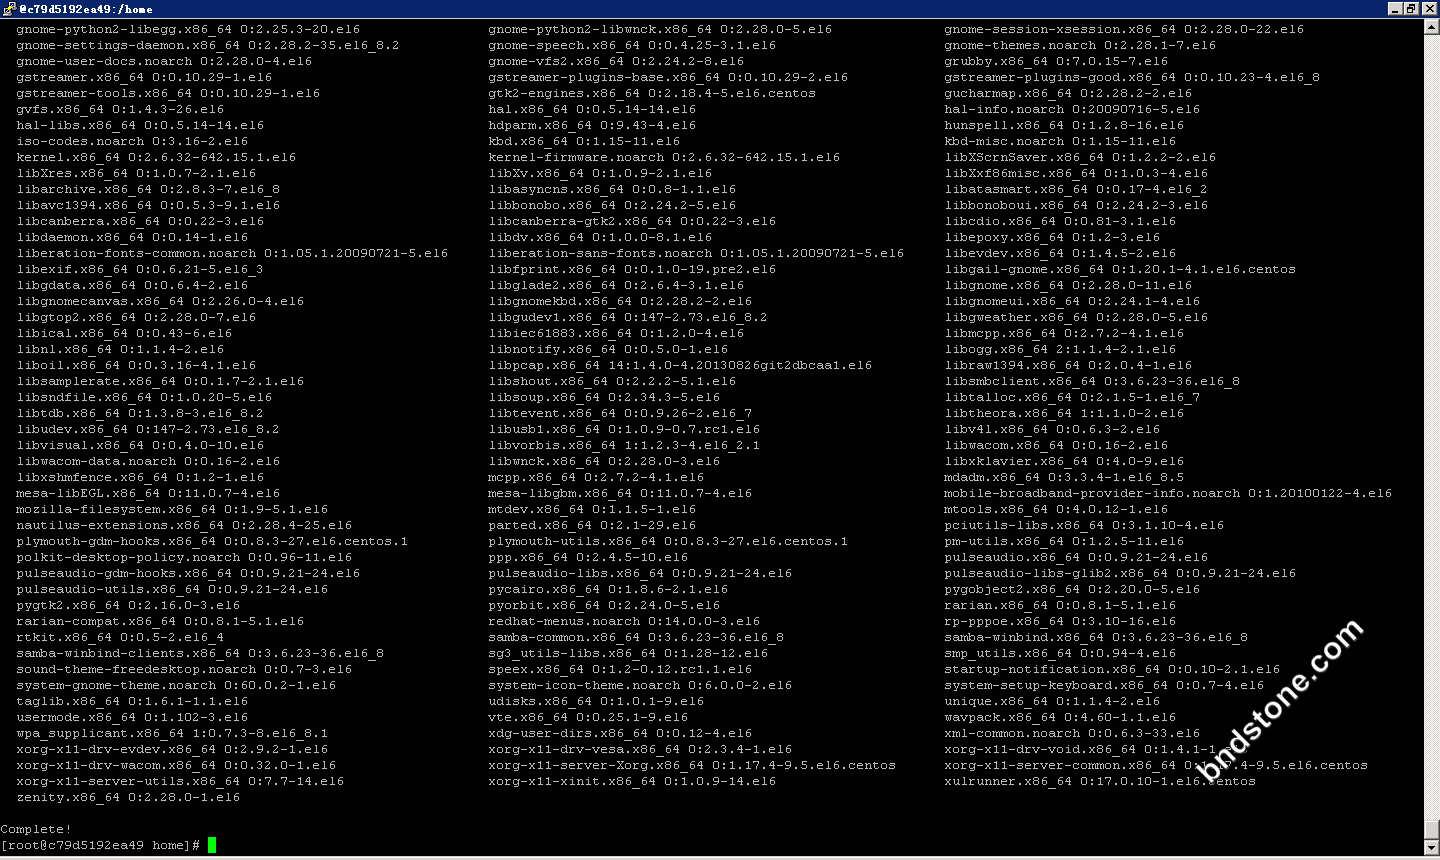
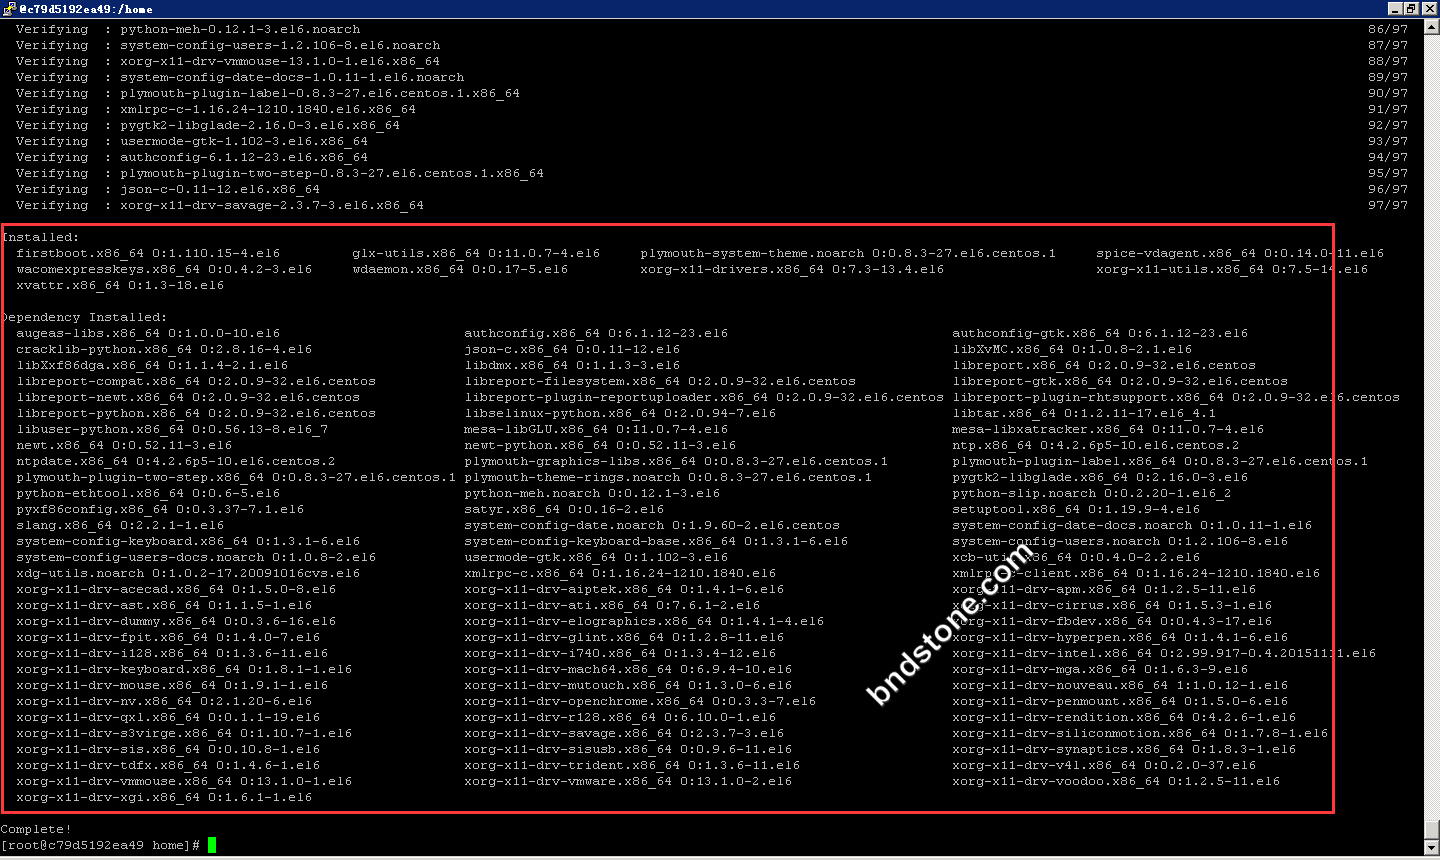
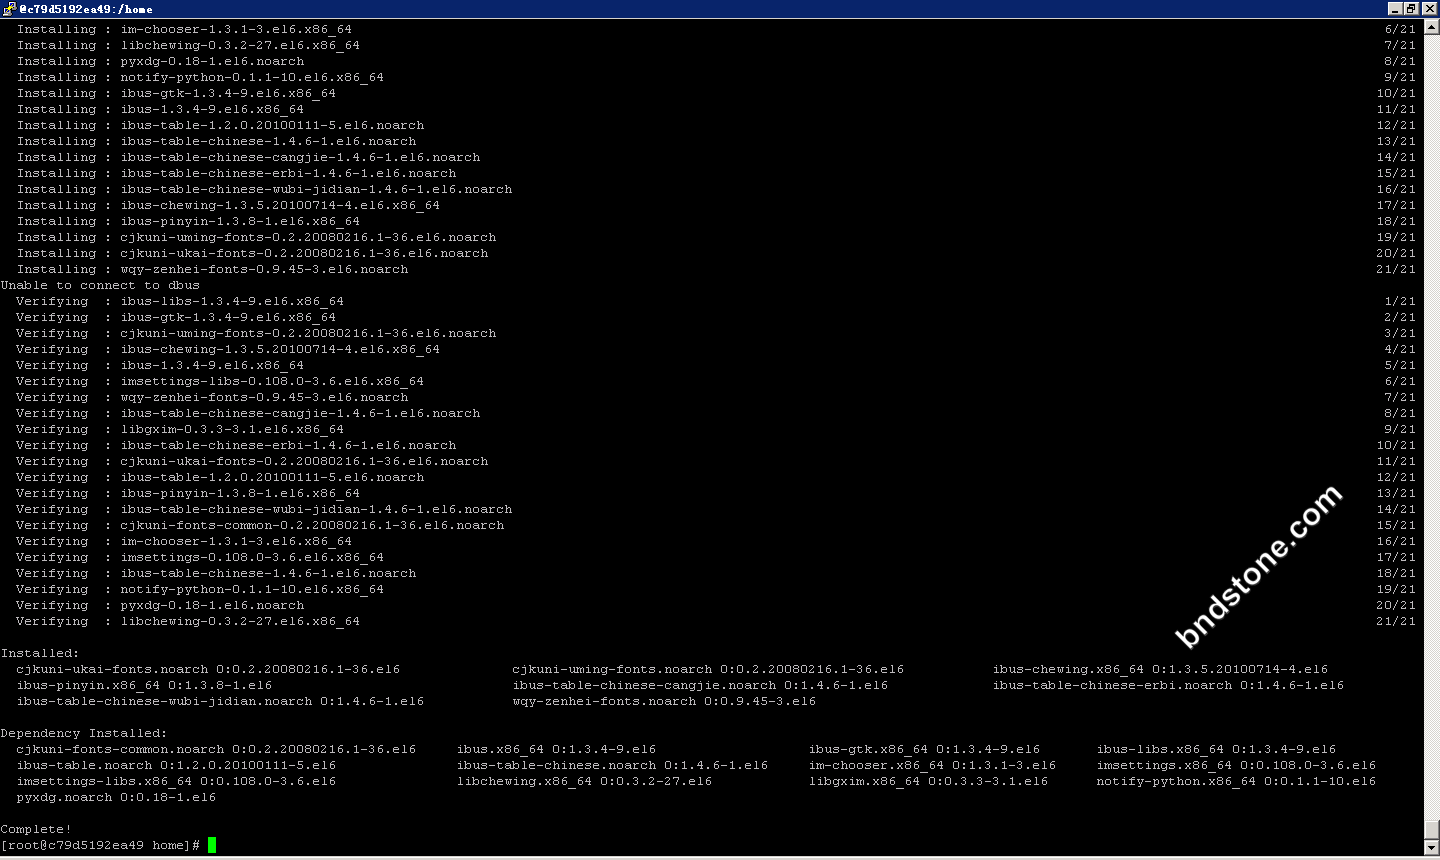
5-2. 修改配置
1 | vi /etc/inittab |
1 | id:3:initdefault //改为 id:5:initdefault |
5-3. 重启vncserver
1 | service vncserver restart |
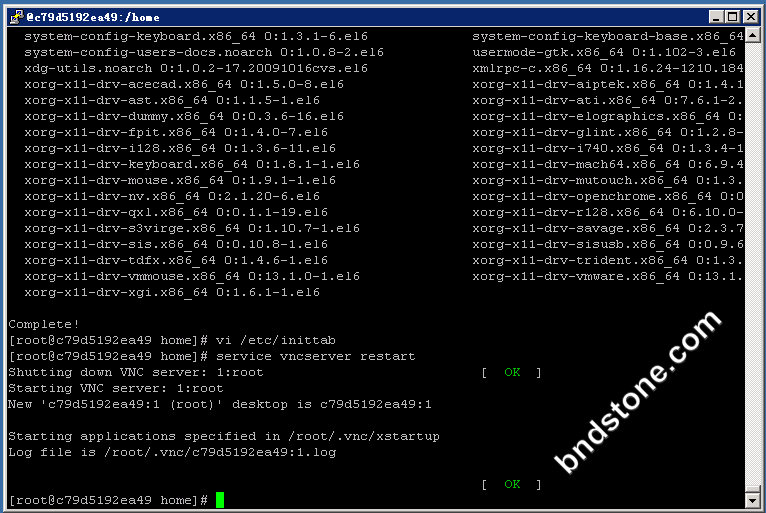
5-4. 已经看到可以正常进入了

6-1. 安装firefox
1 | yum install -y firefox |
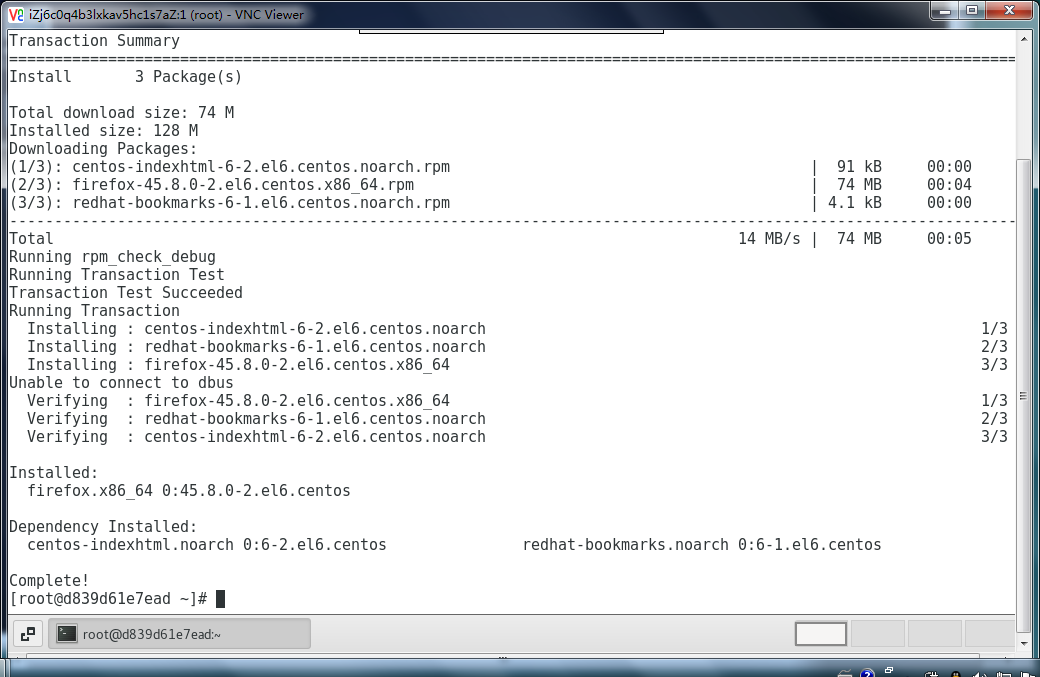
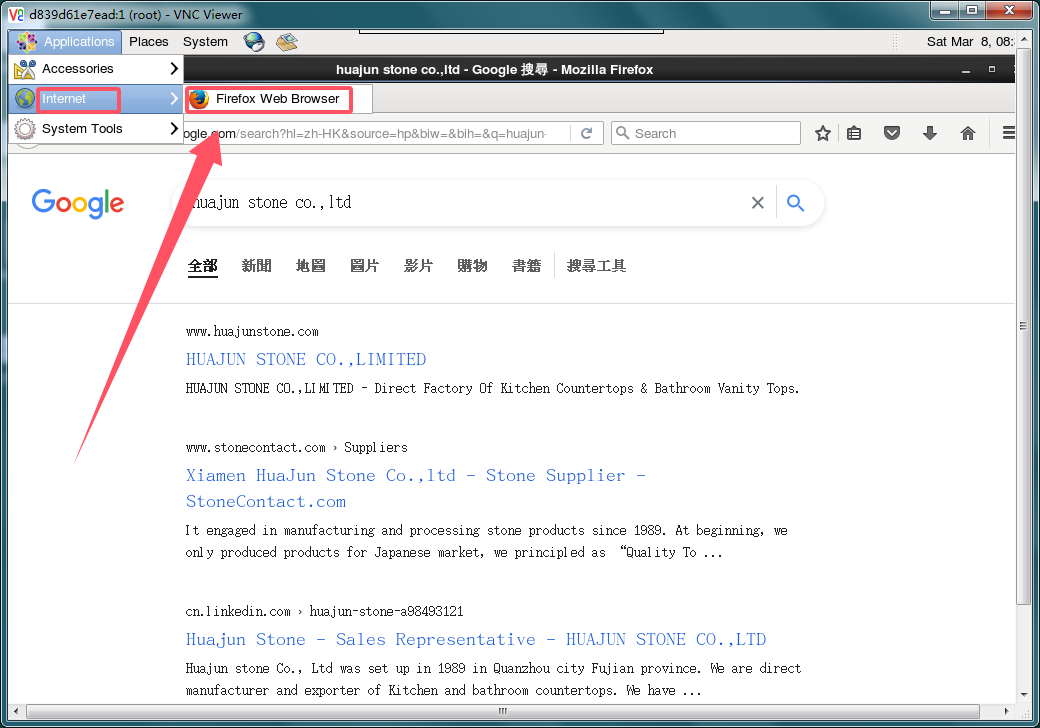
7. 安装google-chrome-stable
1 2 | wget https://linuxsoft.bndstone.com/chrome/google-chrome-stable-58.0.3029.110-1.x86_64.rpm yum localinstall google-chrome-stable-58.0.3029.110-1.x86_64.rpm |
会报错如下信息:
1 2 | error: Failed dependencies: lsb >= 4.0 is needed by google-chrome-stable-58.0.3029.110-1.x86_64 |
原因: glibc 及 gcc版本太低.需要升级.
7-1. 先检查下已经有的版本
1 | strings /lib64/libc.so.6 | grep GLIBC |
会弹出如下信息:
1 2 3 4 5 6 7 8 9 10 11 12 13 14 15 16 | GLIBC_2.2.5 GLIBC_2.2.6 GLIBC_2.3 GLIBC_2.3.2 GLIBC_2.3.3 GLIBC_2.3.4 GLIBC_2.4 GLIBC_2.5 GLIBC_2.6 GLIBC_2.7 GLIBC_2.8 GLIBC_2.9 GLIBC_2.10 GLIBC_2.11 GLIBC_2.12 GLIBC_PRIVATE |
7-2. 升级到glibc-2.17
1 2 3 4 5 6 7 | wget http://ftp.gnu.org/gnu/glibc/glibc-2.17.tar.gz tar -zxvf glibc-2.17.tar.gz cd glibc-2.17 mkdir build cd build ../configure --prefix=/usr --disable-profile --enable-add-ons --with-headers=/usr/include --with-binutils=/usr/bin make && make install |
7-3. 再检查下已经有的版本
1 | strings /lib64/libc.so.6 | grep GLIBC |
会弹出如下信息:
1 2 3 4 5 6 7 8 9 10 11 12 13 14 15 16 17 18 19 20 21 | GLIBC_2.2.5 GLIBC_2.2.6 GLIBC_2.3 GLIBC_2.3.2 GLIBC_2.3.3 GLIBC_2.3.4 GLIBC_2.4 GLIBC_2.5 GLIBC_2.6 GLIBC_2.7 GLIBC_2.8 GLIBC_2.9 GLIBC_2.10 GLIBC_2.11 GLIBC_2.12 GLIBC_2.13 GLIBC_2.14 GLIBC_2.15 GLIBC_2.16 GLIBC_2.17 GLIBC_PRIVATE |
7-4. 升级gcc的版本
1 2 3 4 5 6 7 8 9 | wget http://ftp.gnu.org/gnu/gcc/gcc-4.8.2/gcc-4.8.2.tar.bz2 tar -jxvf gcc-4.8.2.tar.bz2 cd gcc-4.8.2 ./contrib/download_prerequisites #这个脚本会自动下载编译gcc所需要的gmp,mpfr和mpc三个依赖项,要是网不好不能下载,建议手动下载到当前目录,注释掉这个脚本中的3个wget,然后再次执行。 mkdir build cd build ../configure -enable-checking=release -enable-languages=c,c++ -disable-multilib make && make install |
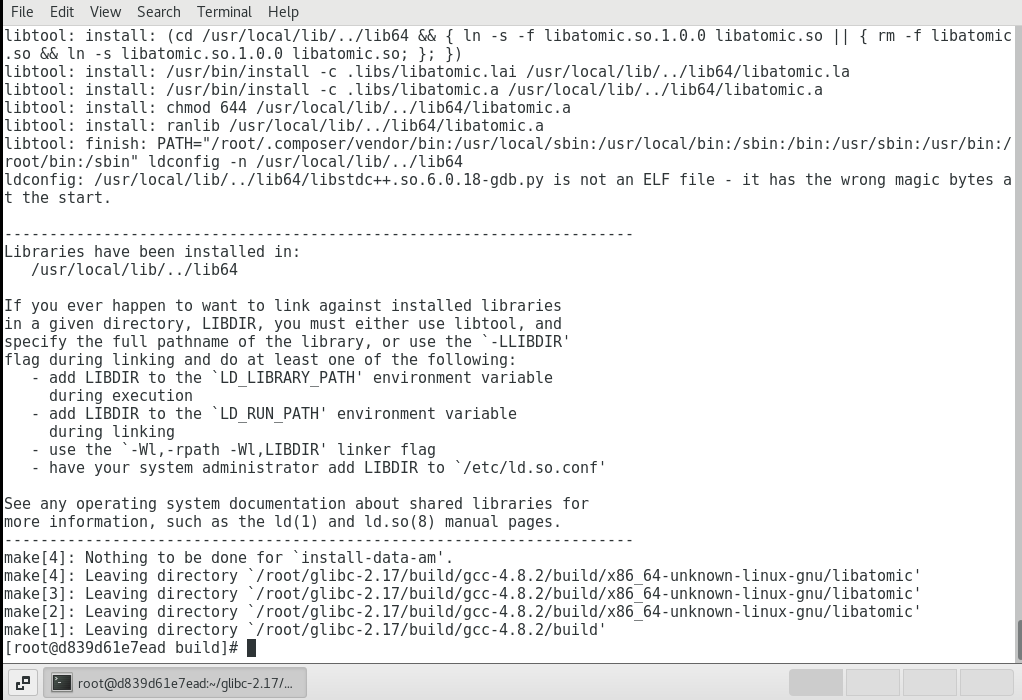
8. 重新安装 google-chrome,安装的是 google-chrome-stable-58.0.3029.110-1.x86_64
1 2 | wget https://linuxsoft.bndstone.com/chrome/chrome-deps-stable-3.11-1.x86_64.rpm yum localinstall -y chrome-deps-stable-3.11-1.x86_64.rpm |
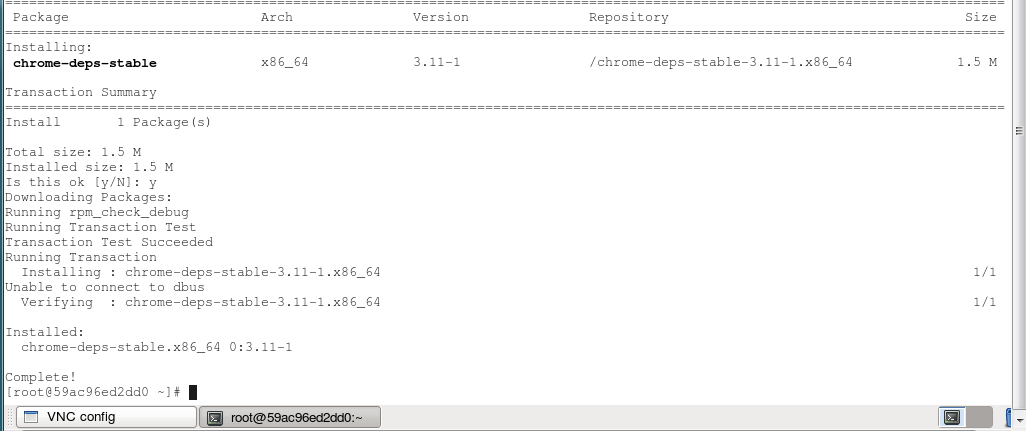
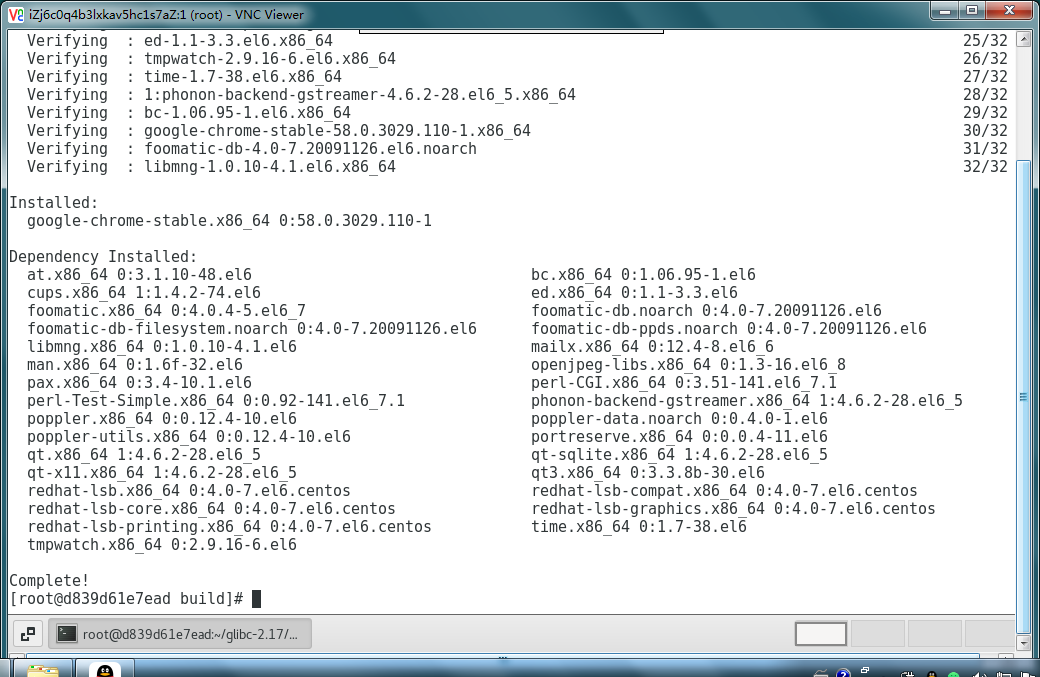
1 2 | wget https://linuxsoft.bndstone.com/chrome/google-chrome-stable-58.0.3029.110-1.x86_64.rpm yum localinstall -y google-chrome-stable-58.0.3029.110-1.x86_64.rpm |
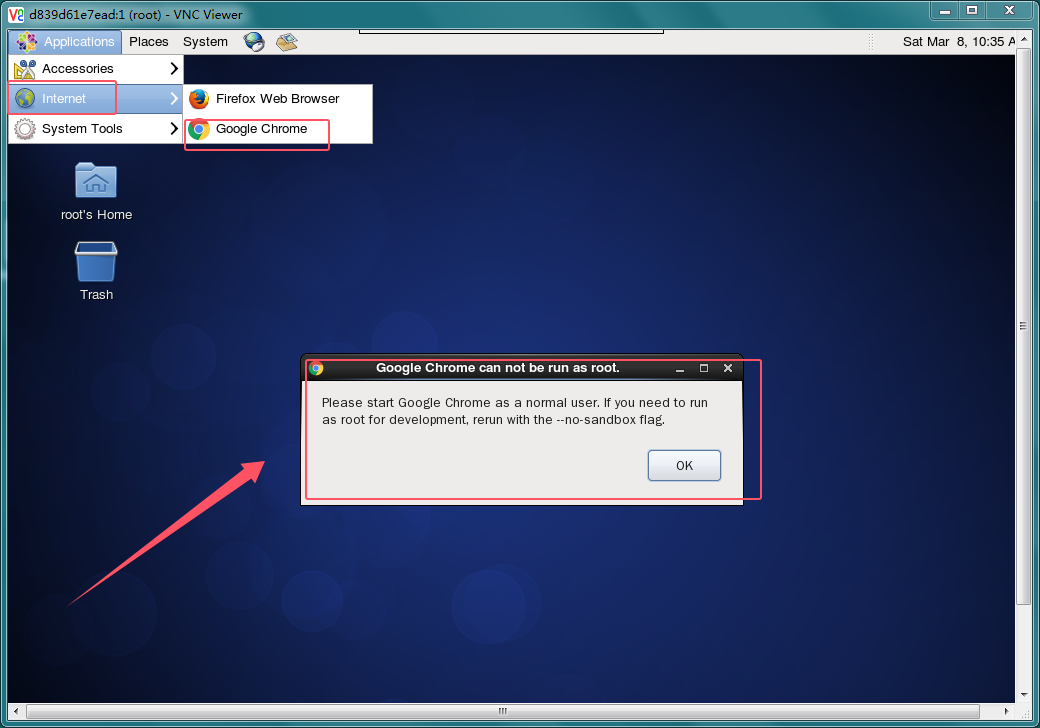
9. 从安全角度来看,chrome 是不应该在root用户权限下运行的,如果真的想在root下运行需要使用 –no-sandbox 来运行
9-1. 查询具体位置
1 | which google-chrome |
会弹出如下信息:
1 | /usr/bin/google-chrome |
9-2. 修改配置
1 | vi /usr/bin/google-chrome |
1 | exec -a "$0" "$HERE/chrome" "$@" 找到这行, 将其注释掉 |
并添加一行
1 | exec -a "$0" "$HERE/chrome" "$@" --user-data-dir --no-sandbox |
