GOOGLE VPS 开通及使用 [Google Compute Engine 新手教程及使用体验]
1 | https://guozeyu.com/2016/10/asia-google-compute-engine/ |
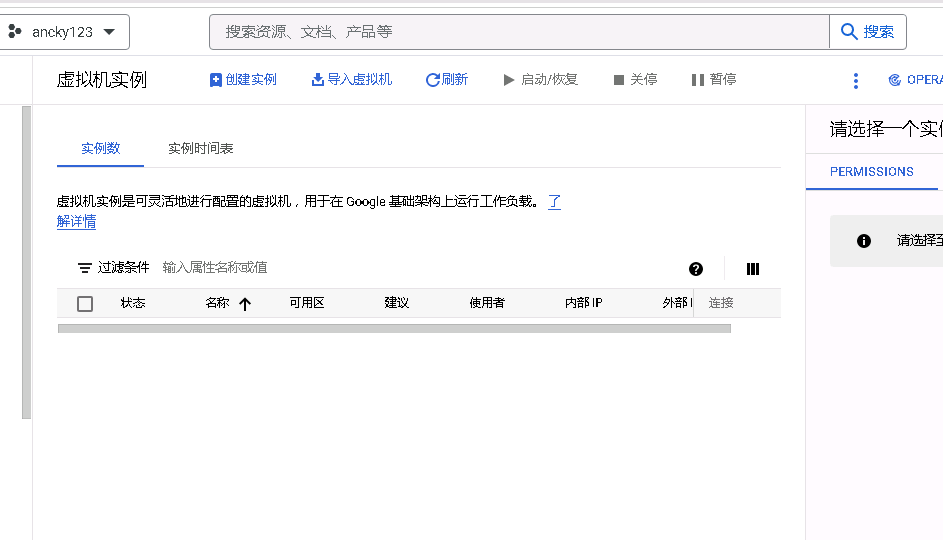
1. “转到控制台”
1 | https://cloud.google.com/ |

2. “导航菜单” – “Compute Engine”
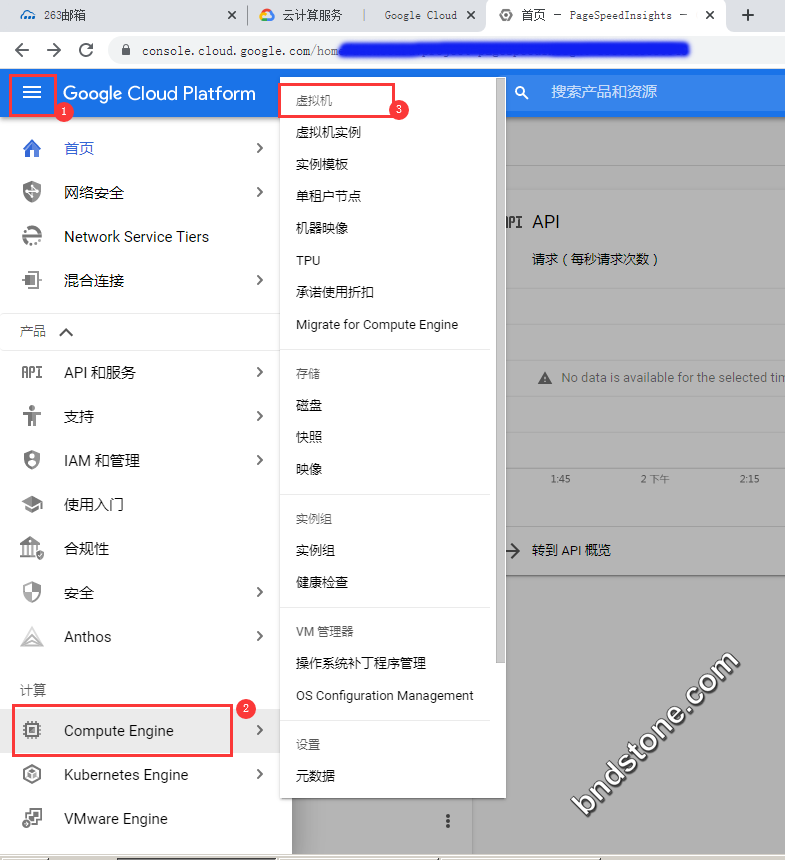
3. “创建实例”

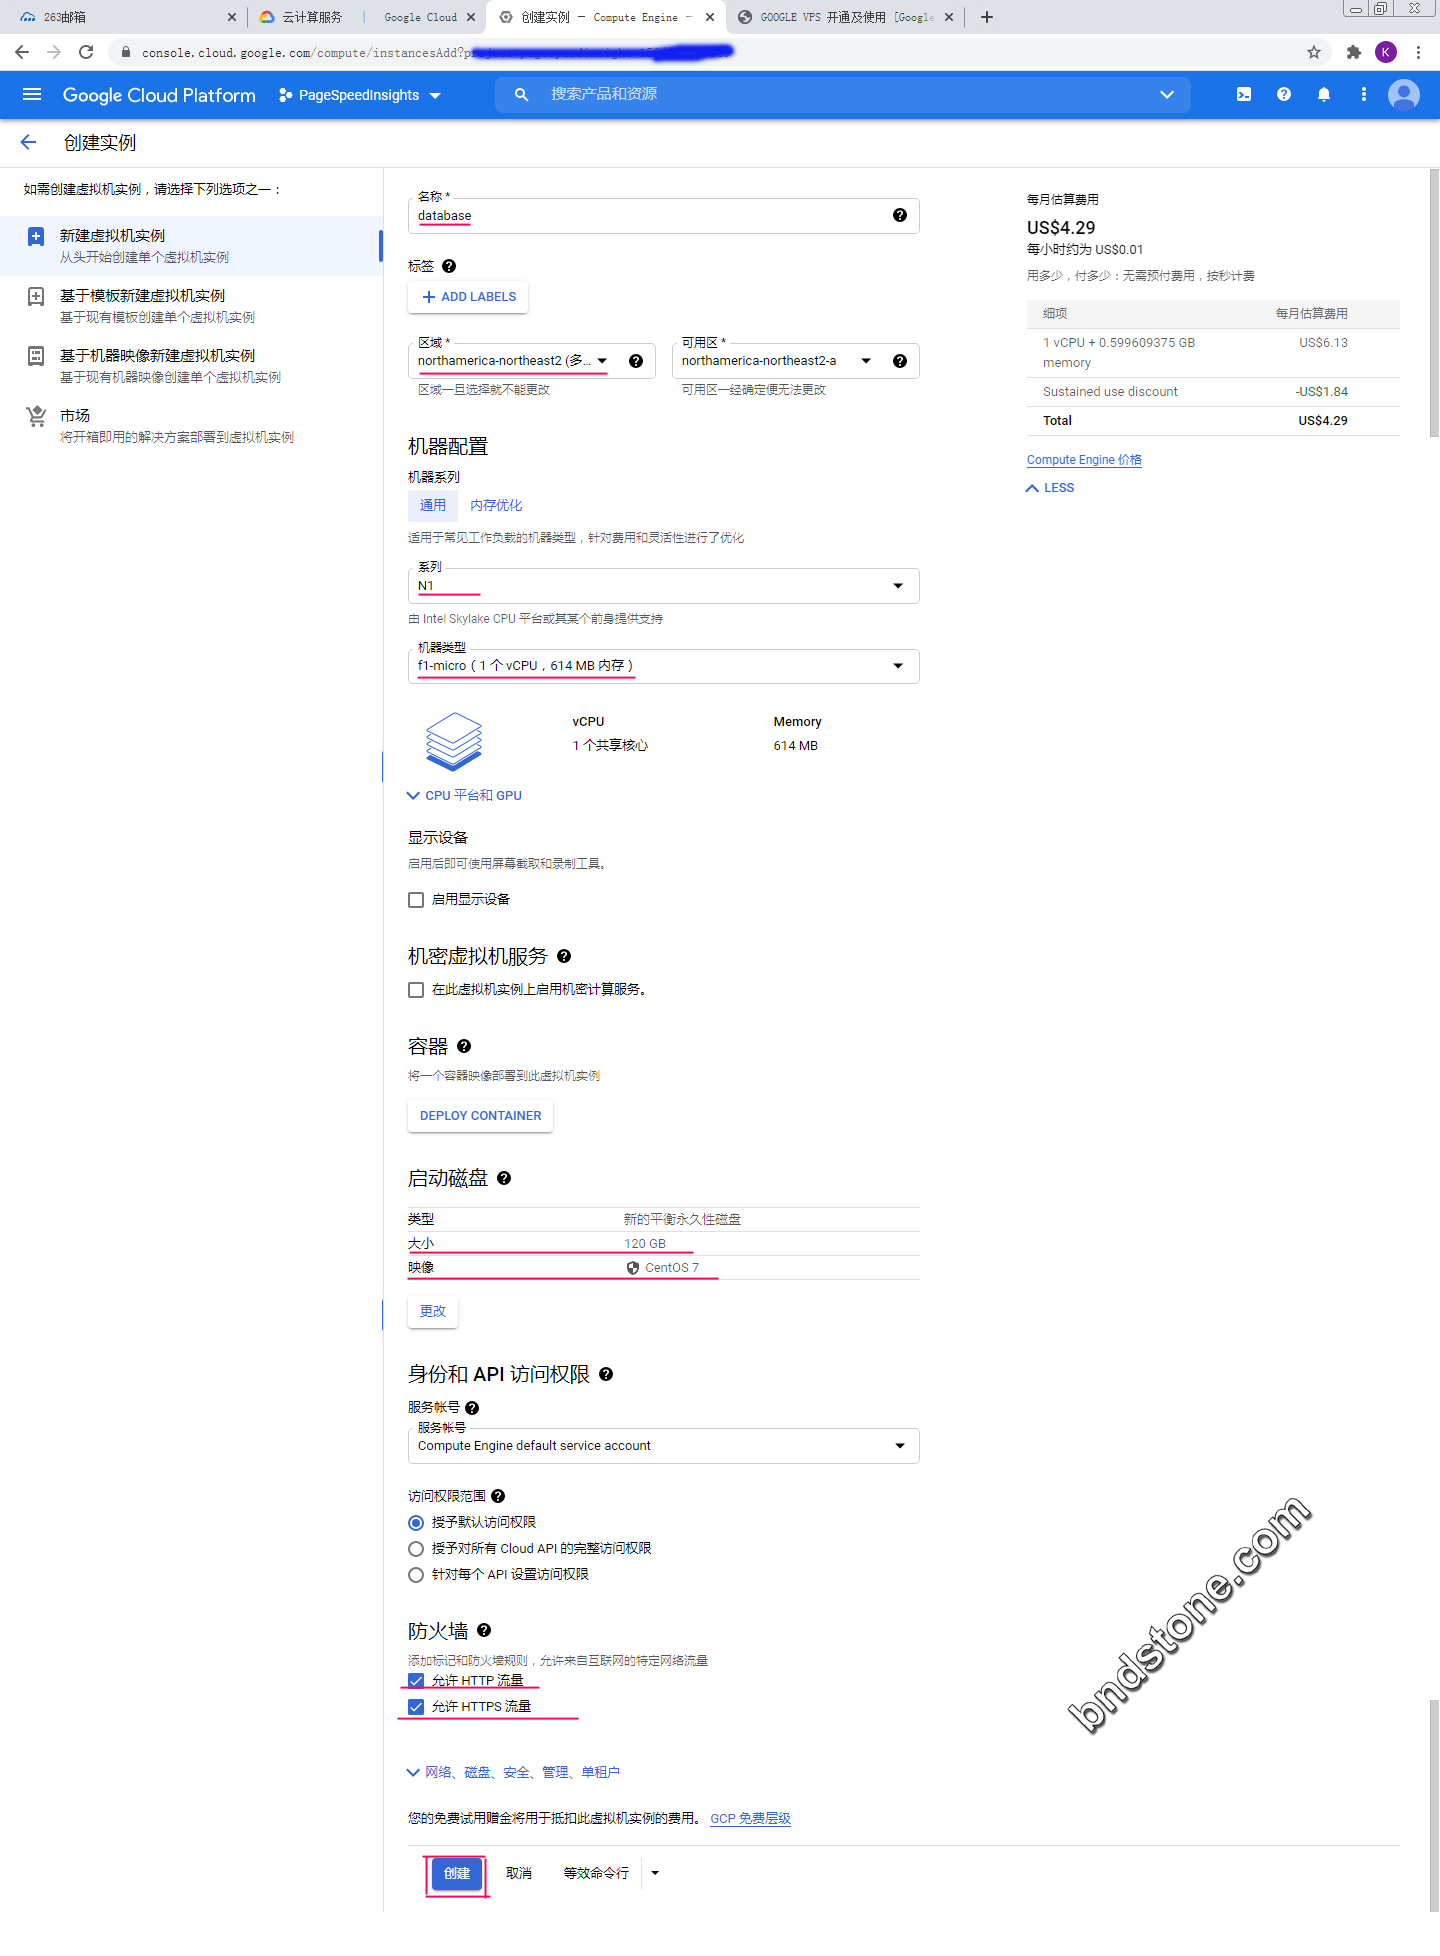
4. “创建”
内存:614 M
硬盘120G
地址:多伦多
硬盘 加到100G ,200G,3000G,价格都不变 [新的平衡永久性磁盘]
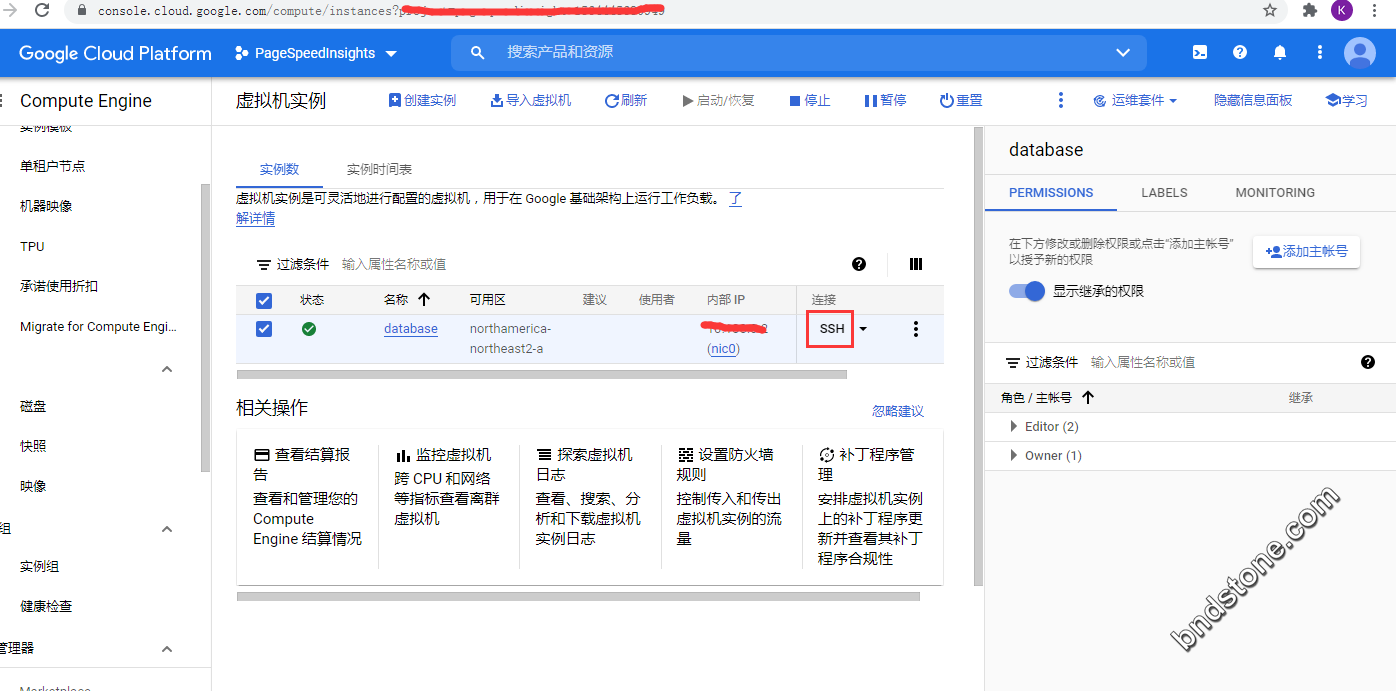
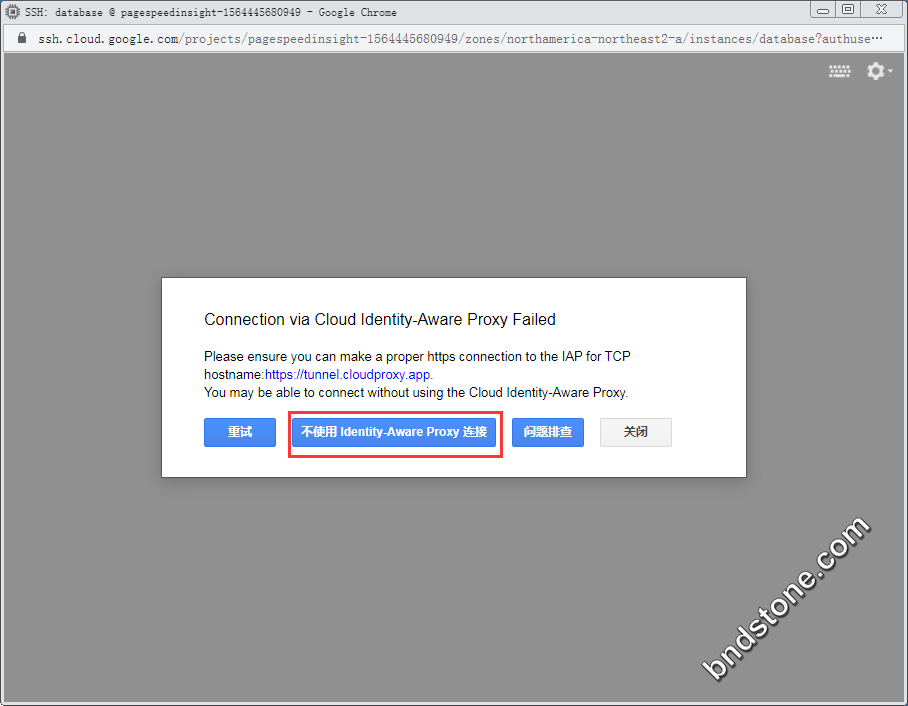
5-1. 点 “SSH” —— 这个卡机时可以重启
5-1-1. “不使用Identity-Aware Proxy 连接”
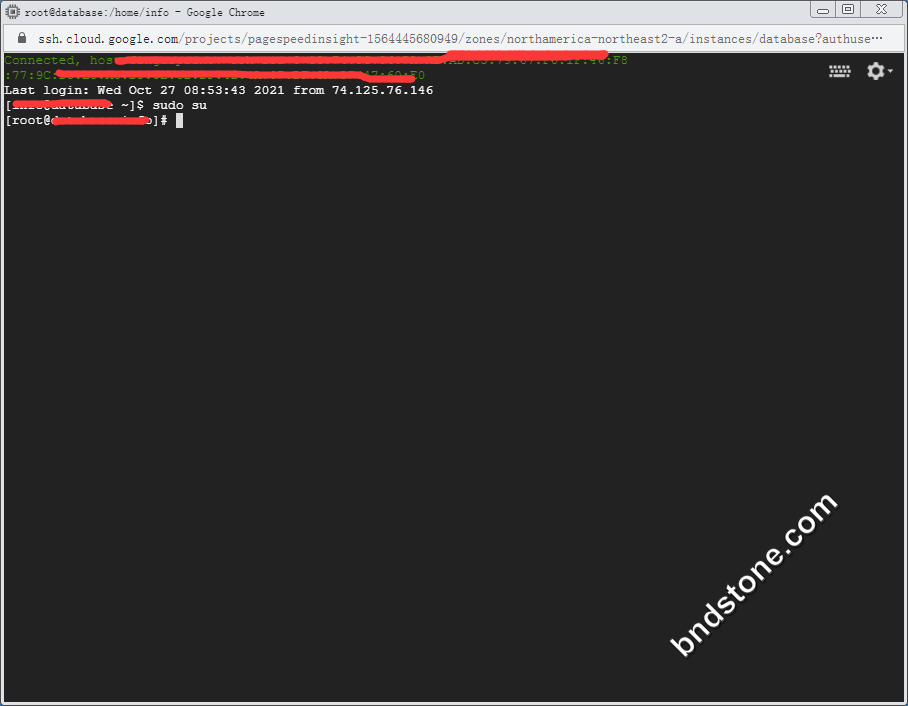
5-1-2. 成功连接 – “sudo su ” 升级到 root 账号
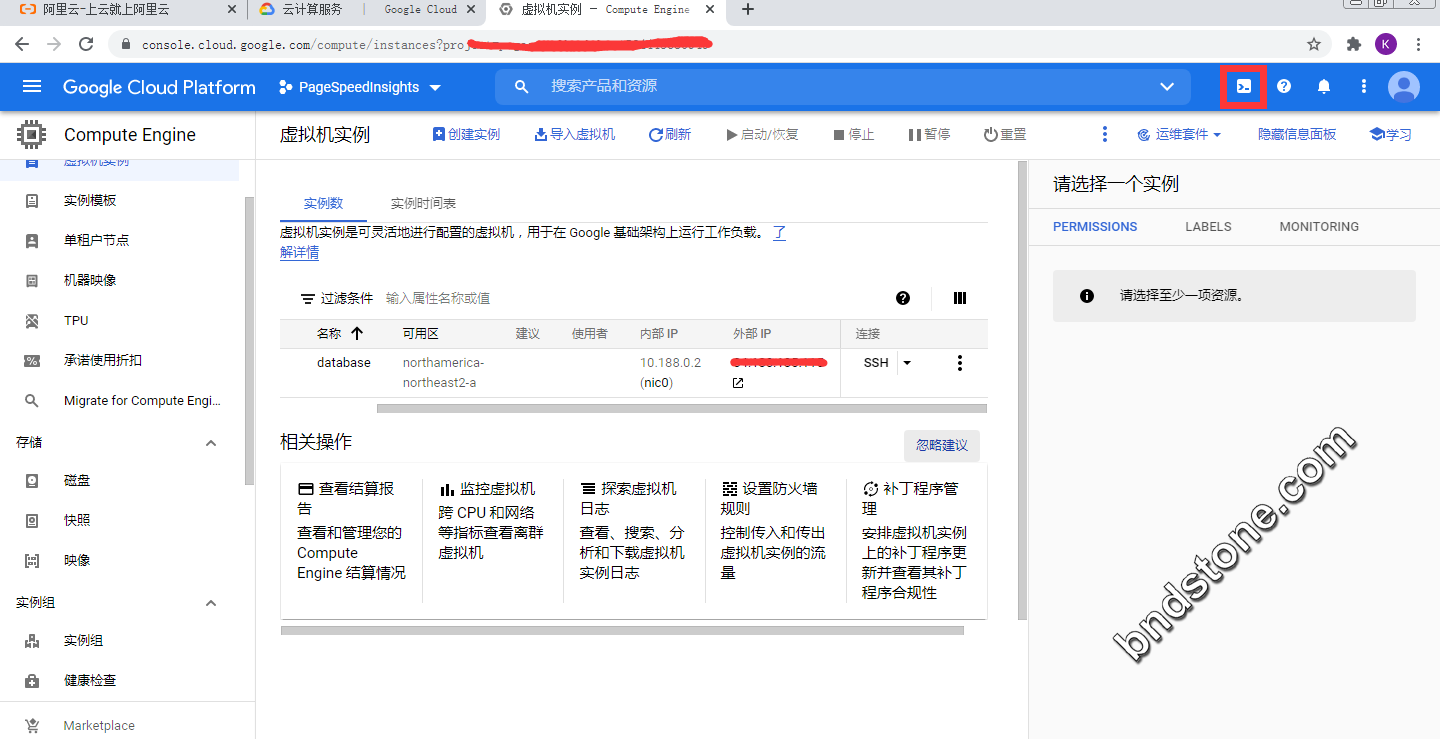
5-2. 也可以点 “激活 Cloud Shell” —这个卡机时重启不了
6. CentOS 7 使用Google-Authenticator进行多因素认证
如果是google cloud vps, 会因为时区不一致而出错,手机上需要跟据服务器时区作出调整.
1 | https://zls.bndstone.com/1170.html |
8. 把 /home 及以下所有者改为 test
1 2 | chgrp -R test /home 把/home 下所有文件 文件所在组 改成test ---这个更改已经创建的 chown -R test:test /home 把/home 下所有文件 文件拥有者 改成test ---这个更改以后创建的 |
9. 数据同步
1 | https://www.bndstone.com/1245.html |
========================================================================
1. 申请地址:
1 | https://console.cloud.google.com/compute/instancesAdd |
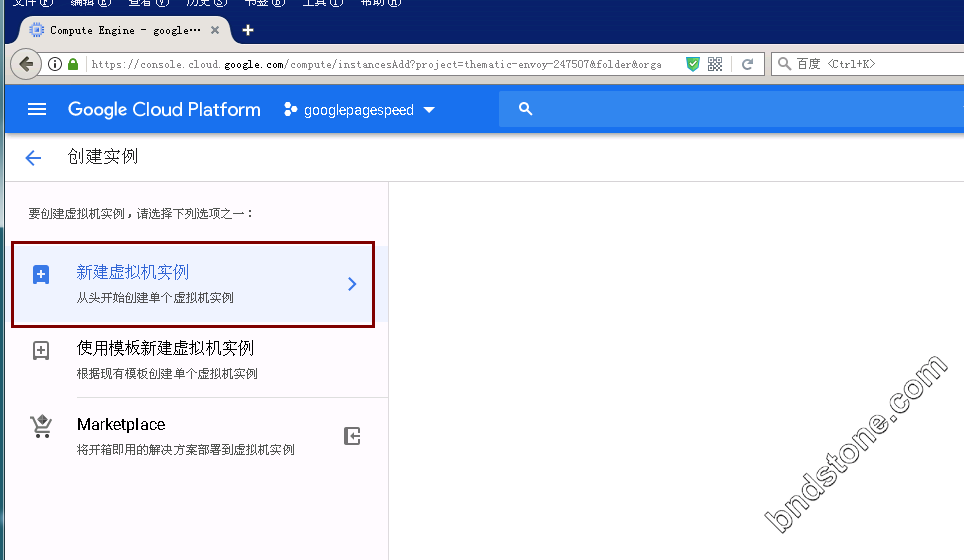
2. 新建虚拟机实例
3. 进行配置
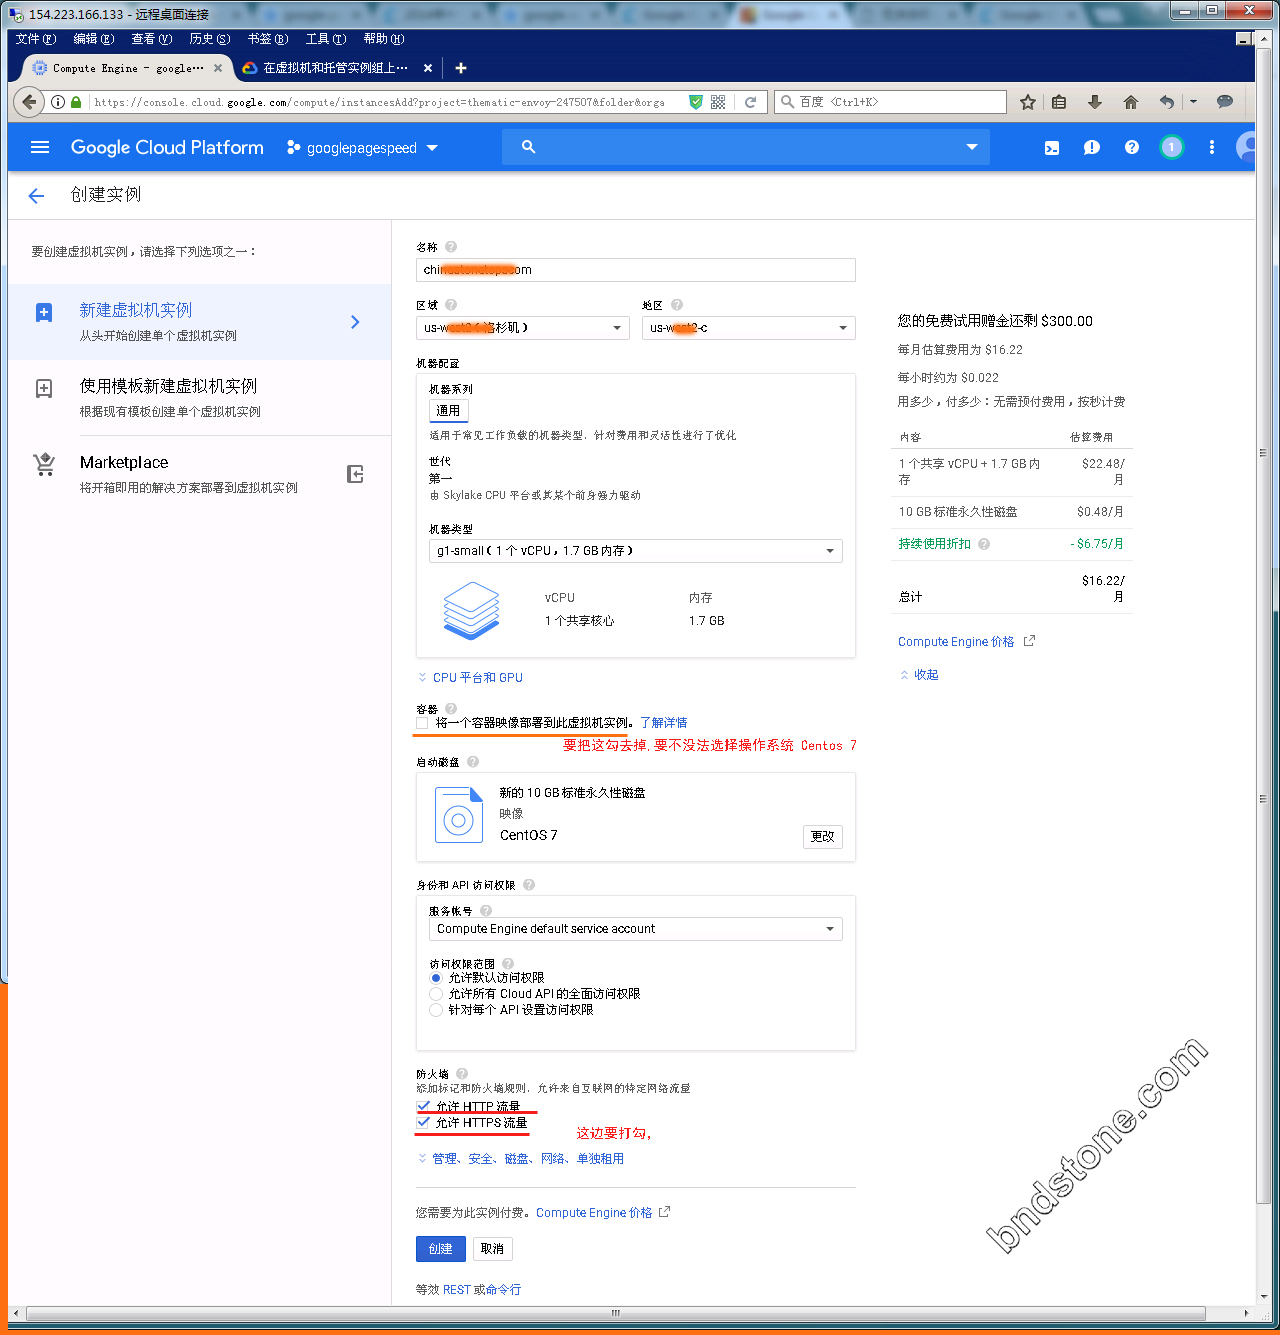
4. 开始创建VPS了,稍等一会儿就可以看到VPS主机已经成功建立
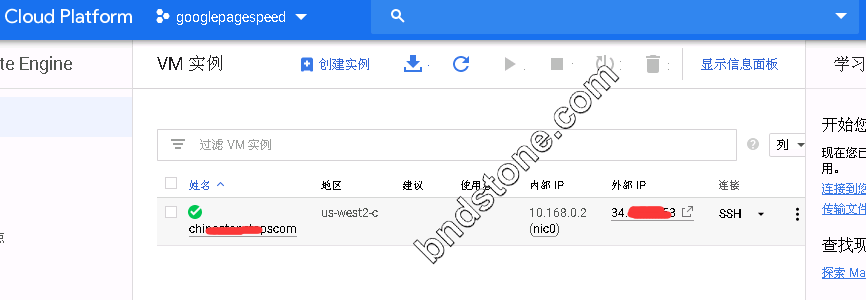
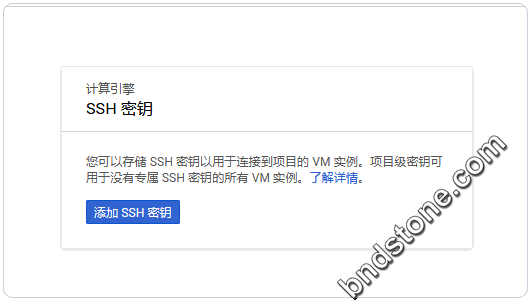
5. Google Compute Engine管理使用方法-元数据

6. 确定添加密钥
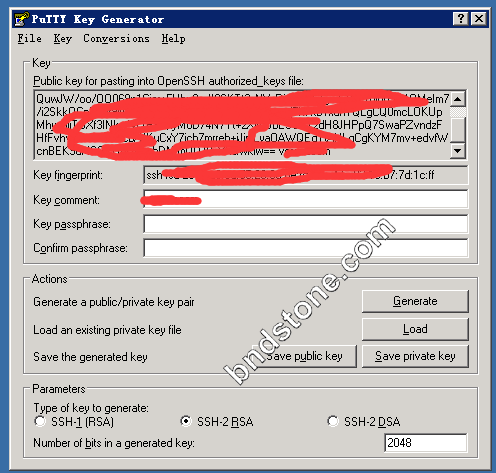
7. 启动你的软件PuttyGen,这里是:PuTTYGen下载。用软件生成一个Key。
8. 生成了Key后,先点击右下方的“保存私钥”,将密钥保存在本地
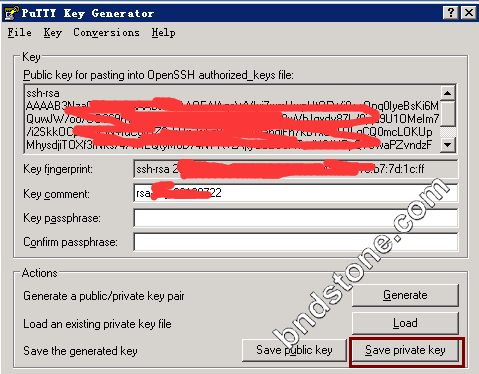
9. 然后复制上面的公钥到元数据中,注意在公钥最后加上你的用户名,然后点击保存
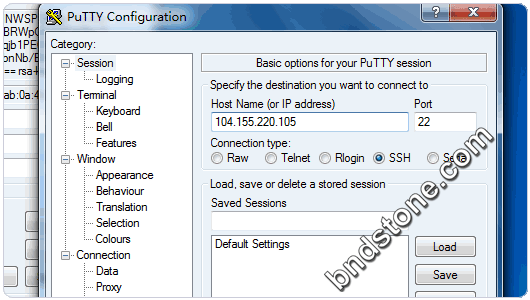
10. 现在打开Pu-tty,填入IP地址与端口
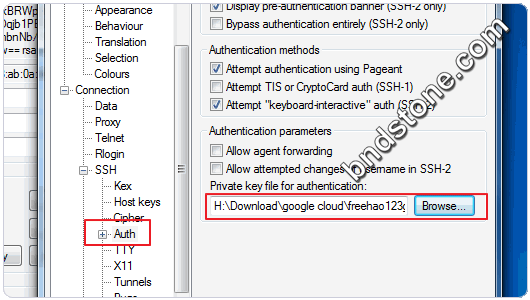
11. 在授权中添加刚刚保存的私钥
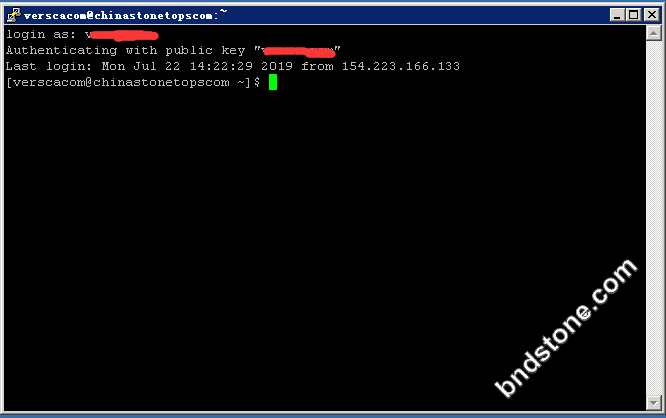
12. 成功进入系统
13. 通过sudo su命令切换到root用户
1 | sudo su //切换到root用户 |
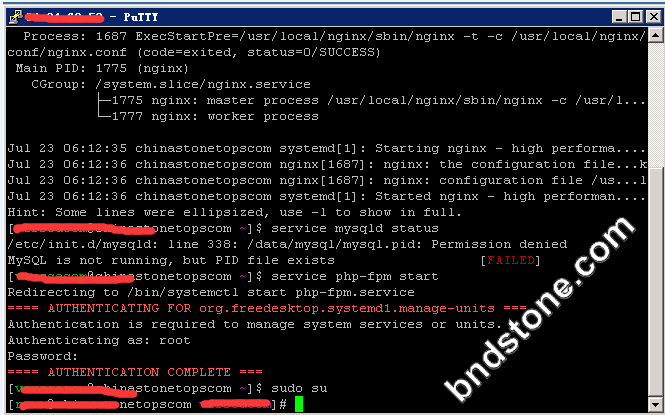
14. 修改SSH配置文件/etc/ssh/sshd_config
1 | vi /etc/ssh/sshd_config |
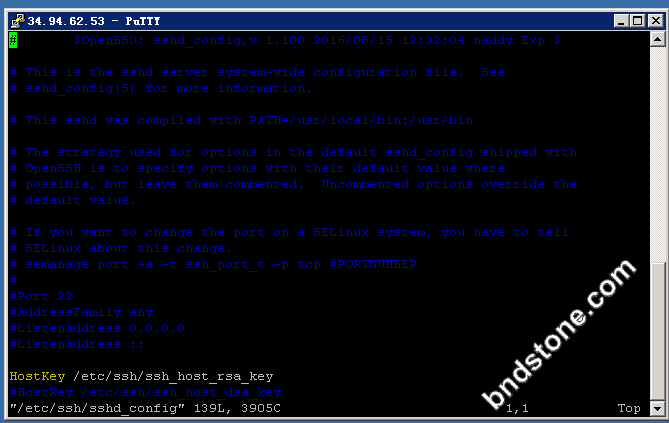
15. 找到PermitRootLogin和PasswordAuthentication
1 2 3 4 5 | 37 LoginGraceTime 2 #去掉,改为600 38 PermitRootLogin no 改为yes 39 StrictModes yes #去掉 65 PasswordAuthentication no 改为 yes |
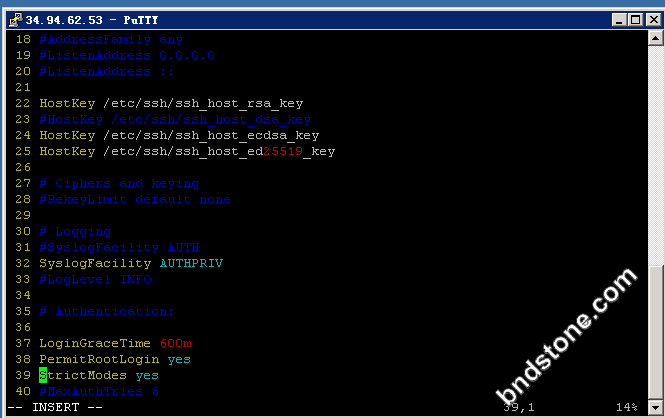
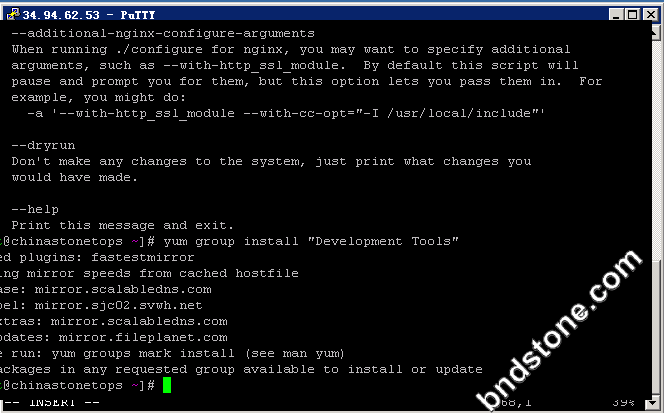
16. 设置root密码
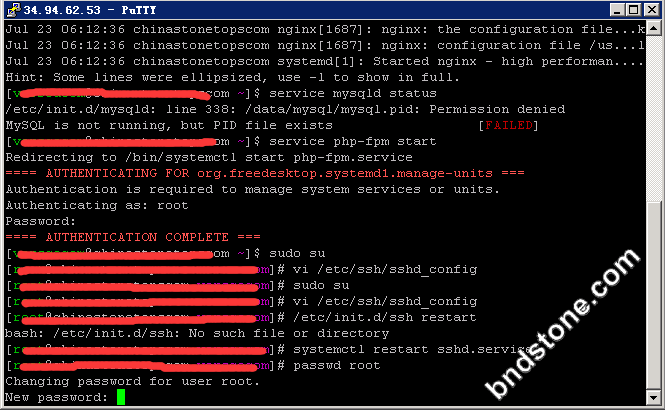
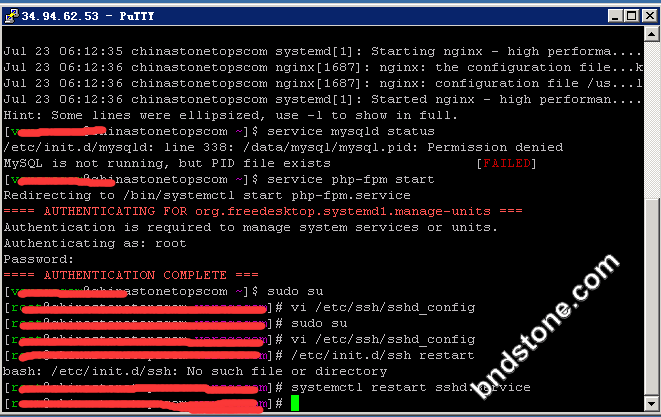
16. 重启SSH服务使修改生效
1 | systemctl restart sshd.service |
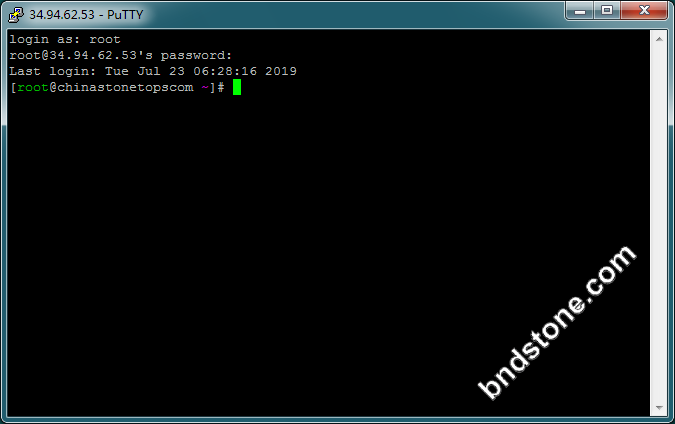
17. 成功进入系统
========================================================
删除虚拟机
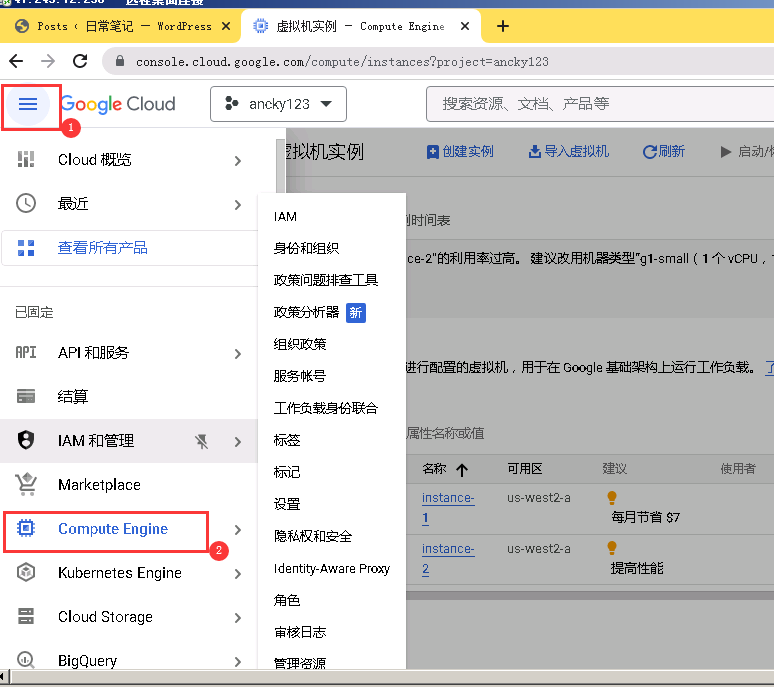
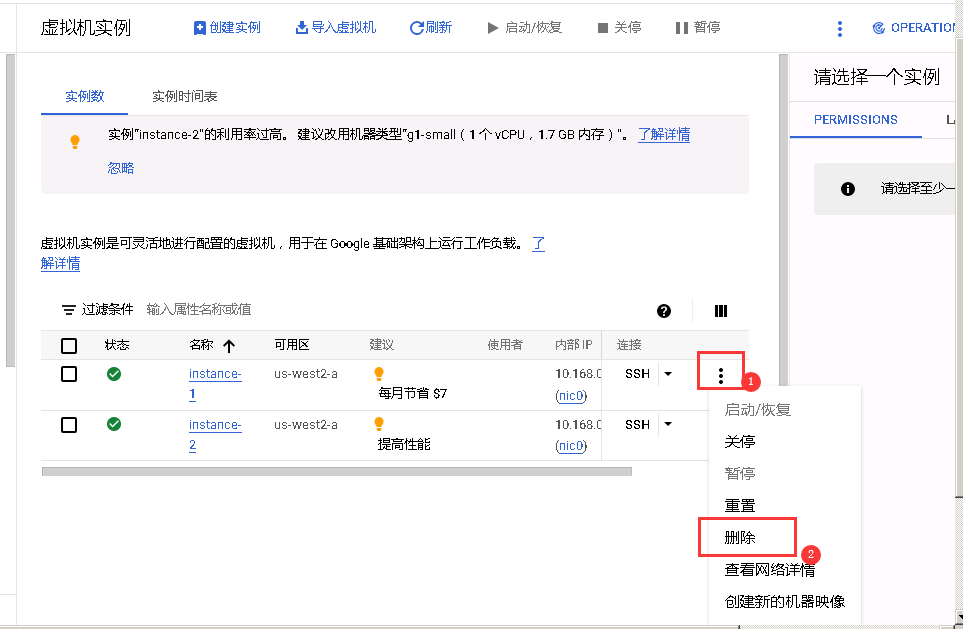
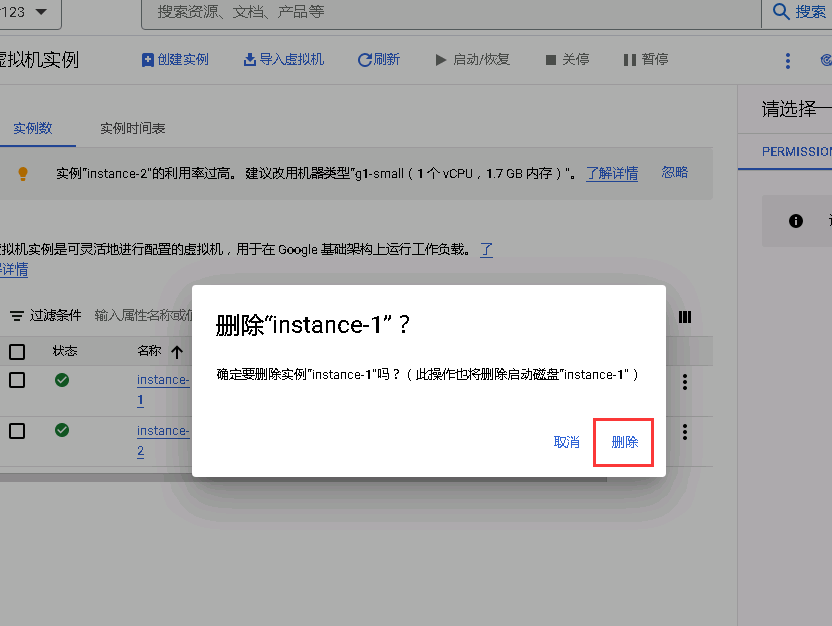
删除完成
