【Nginx教程5】Nginx 配置实例 (负载均衡)
1 | https://www.bilibili.com/video/BV1zJ411w7SV?p=11 |
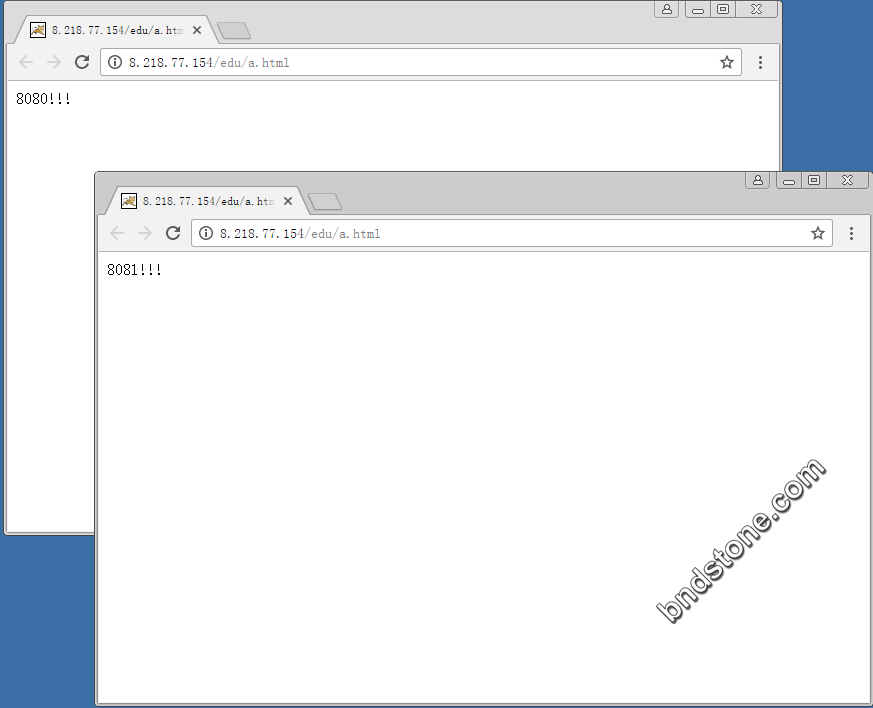
(1)浏览器输入 http://8.218.77.154/edu/a.html , 负载均衡
平均分配到8080和8081端口中.
2. 准备工作:
(1) 准备两台tomcat服务器,一台8080,一台8081
(2) 在两台tomcat 里面webapps 目录中,分别创建名称 edu 文件夹,在edu文件夹中创建页面a.html,用于测试.
3. 操作步骤:
3-1. 新建两个tomcat
1 2 3 | cd /usr/src/ mkdir tomcat8080 mkdir tomcat8081 |
3-1-1. tomcat8080保持默认就好
1 2 3 4 5 6 7 8 9 | cd /usr/src/tomcat8080 wget https://linuxsoft.bndstone.com/tomcat/apache-tomcat-7.0.70.tar.gz tar -zxvf apache-tomcat-7.0.70.tar.gz cd /usr/src/tomcat8080/apache-tomcat-7.0.70 cd /usr/src/tomcat8080/apache-tomcat-7.0.70/bin java -version //查看有没有安装java ,没装的话就安装 "yum update -y && yum install -y java-1.8.0-openjdk*" ./startup.sh |
3-1-2. 放行端口
1 2 3 | firewall-cmd --list-all firewall-cmd --permanent --add-port=8080/tcp firewall-cmd --reload |
3-1-3. 阿里云后台放行端口8080.
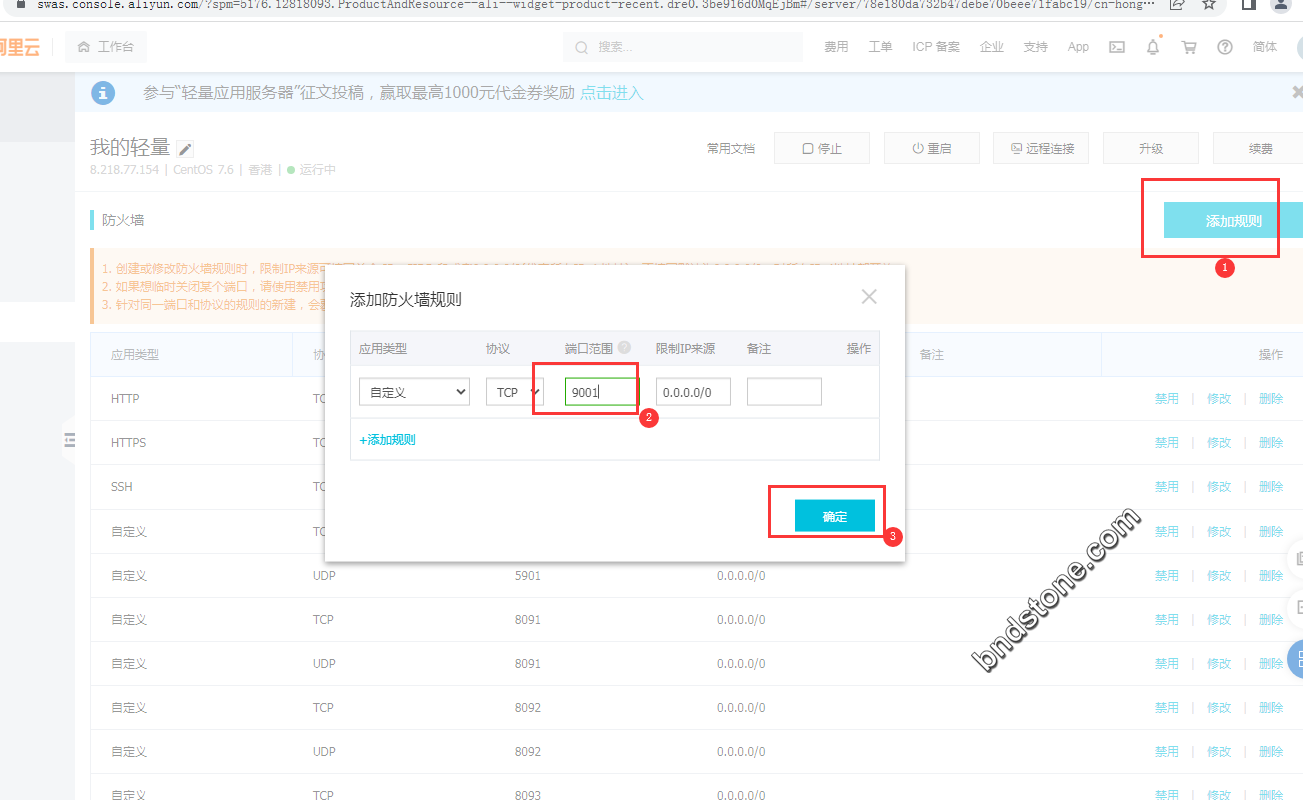
3-1-4. 游览器输入 http://8.218.77.154:8080/ 已经可以看到tomcat了.
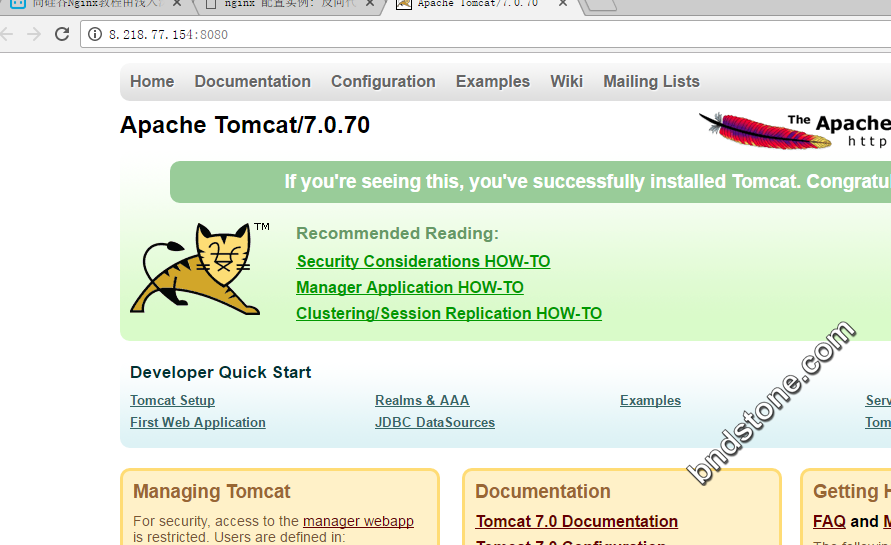
3-1-5. 新建 http://8.218.77.154:8080/edu/a.html
1 2 3 4 | cd /usr/src/tomcat8080/apache-tomcat-7.0.70/webapps/ mkdir edu cd /usr/src/tomcat8080/apache-tomcat-7.0.70/webapps/edu/ vi a.html |
加入如下内容
1 | <html>8080!!!</html> |
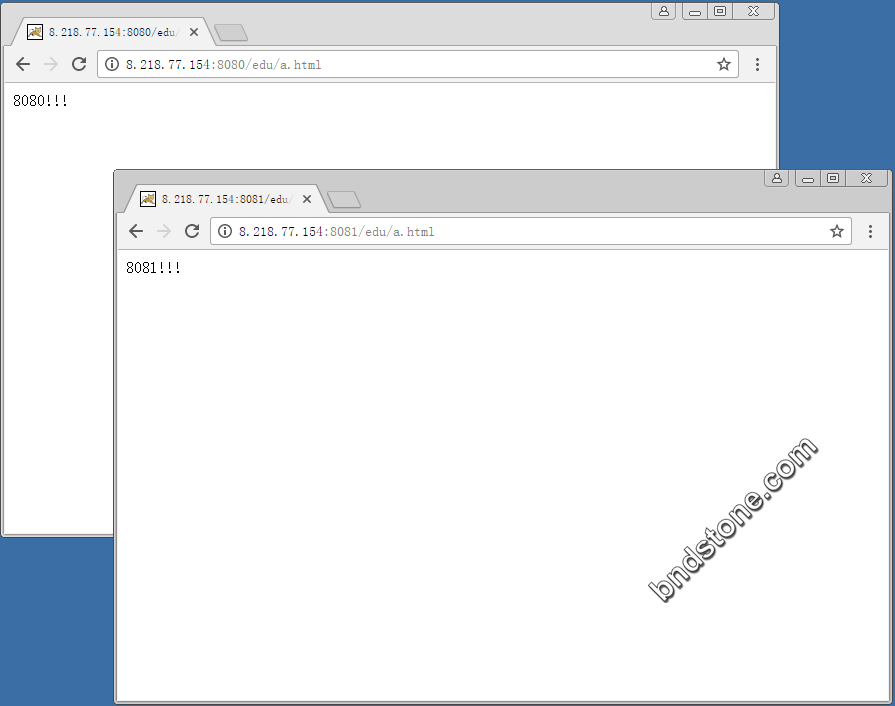
测试页面. http://8.218.77.154:8080/edu/a.html

3-2-1. tomcat8081 需要修改默认端口,以免跟tomcat8080冲突
1 2 3 | cd /usr/src/tomcat8081 wget https://linuxsoft.bndstone.com/tomcat/apache-tomcat-7.0.70.tar.gz tar -zxvf apache-tomcat-7.0.70.tar.gz |
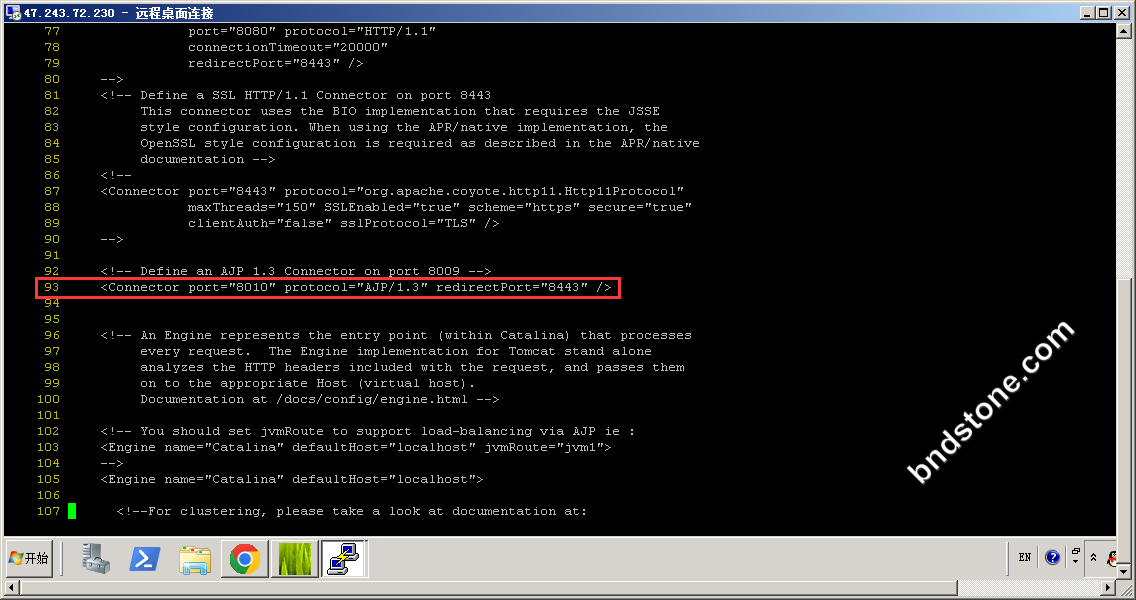
1 2 | cd /usr/src/tomcat8081/apache-tomcat-7.0.70/conf vi server.xml |
1 2 3 | 22 <Server port="8005" shutdown="SHUTDOWN"> //改成8006 71 <Connector port="8080" protocol="HTTP/1.1" //改为8081 93 <Connector port="8009" protocol="AJP/1.3" redirectPort="8443" /> //改为8010 |
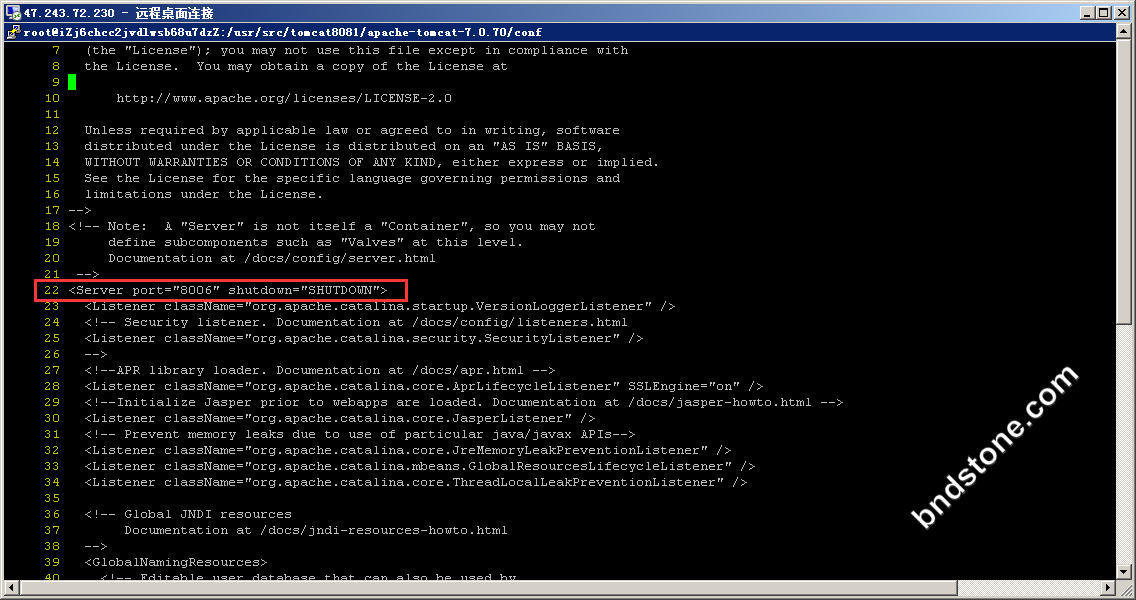
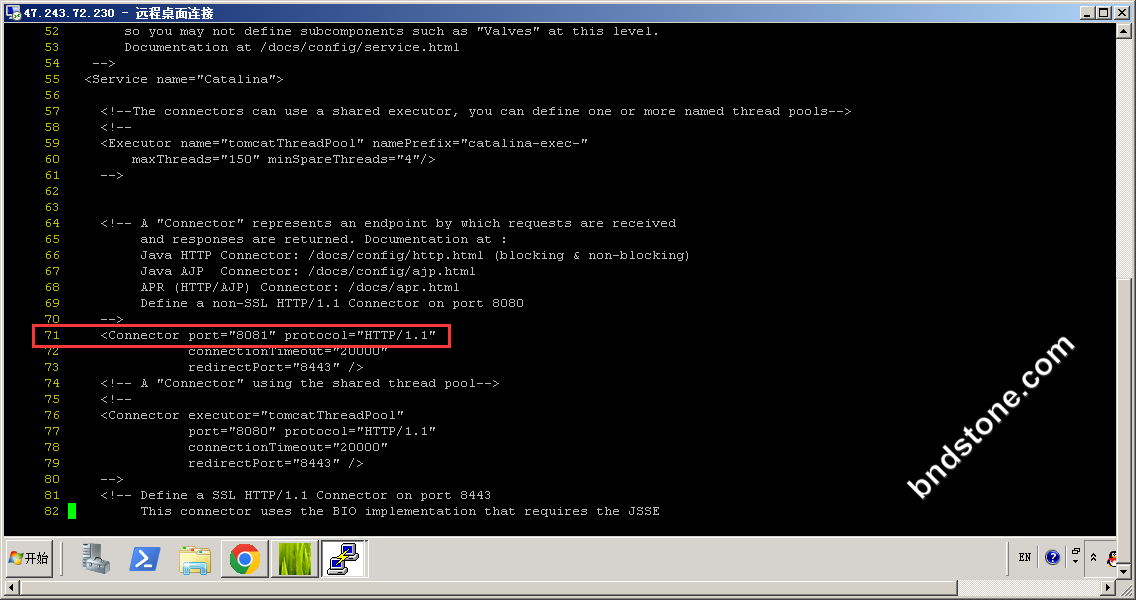
1 2 3 4 5 | cd /usr/src/tomcat8081/apache-tomcat-7.0.70/bin java -version //查看有没有安装java ,没装的话就安装 "yum update -y && yum install -y java-1.8.0-openjdk*" ./startup.sh |
3-2-2. 放行端口
1 2 3 | firewall-cmd --list-all firewall-cmd --permanent --add-port=8081/tcp firewall-cmd --reload |
3-2-3. 阿里云后台放行端口8081.

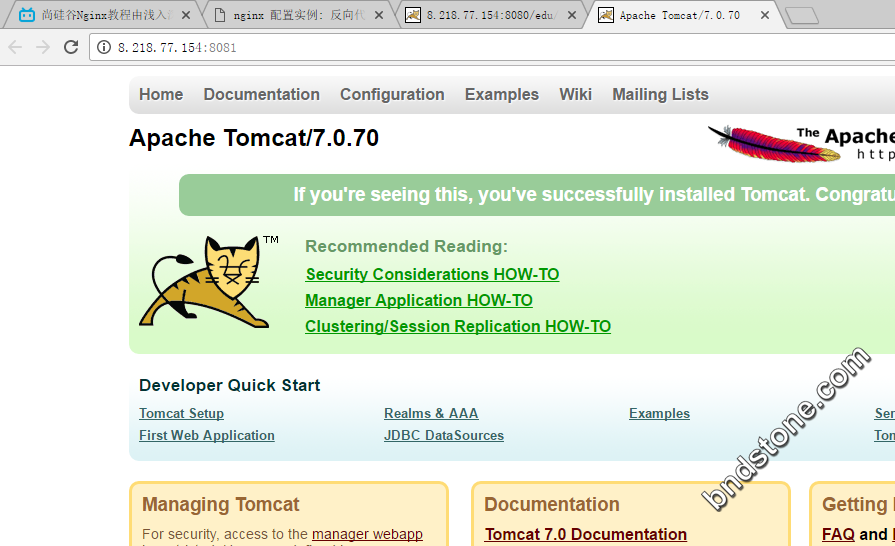
3-2-4. 游览器输入 http://8.218.77.154:8081/ 已经可以看到tomcat了.
3-2-5. 新建 http://8.218.77.154:8081/edu/a.html
1 2 3 4 | cd /usr/src/tomcat8081/apache-tomcat-7.0.70/webapps/ mkdir edu cd /usr/src/tomcat8081/apache-tomcat-7.0.70/webapps/edu/ vi a.html |
加入如下内容
1 | <html>8081!!!</html> |
测试页面. http://8.218.77.154:8081/edu/a.html

4. 在nginx配置文件中进行 负载均衡 的配置.
在nginx.conf 中进行配置 my_server 可以随便设置,只要上下一致就行
1 2 3 4 5 6 7 8 9 10 11 12 13 14 15 16 17 18 19 | http { ...... upstream my_server{ //my_server跟下面一样 ip_hash; server 8.218.77.154:8080 weight=1; server 8.218.77.154:8081 weight=1; } ...... server { location / { ...... proxy_pass http://my_server; //my_server跟上面一样 proxy_connect_timeout 10; } ...... } } |
4-1. Nginx安装 ,参照 https://www.bndstone.com/3201.html
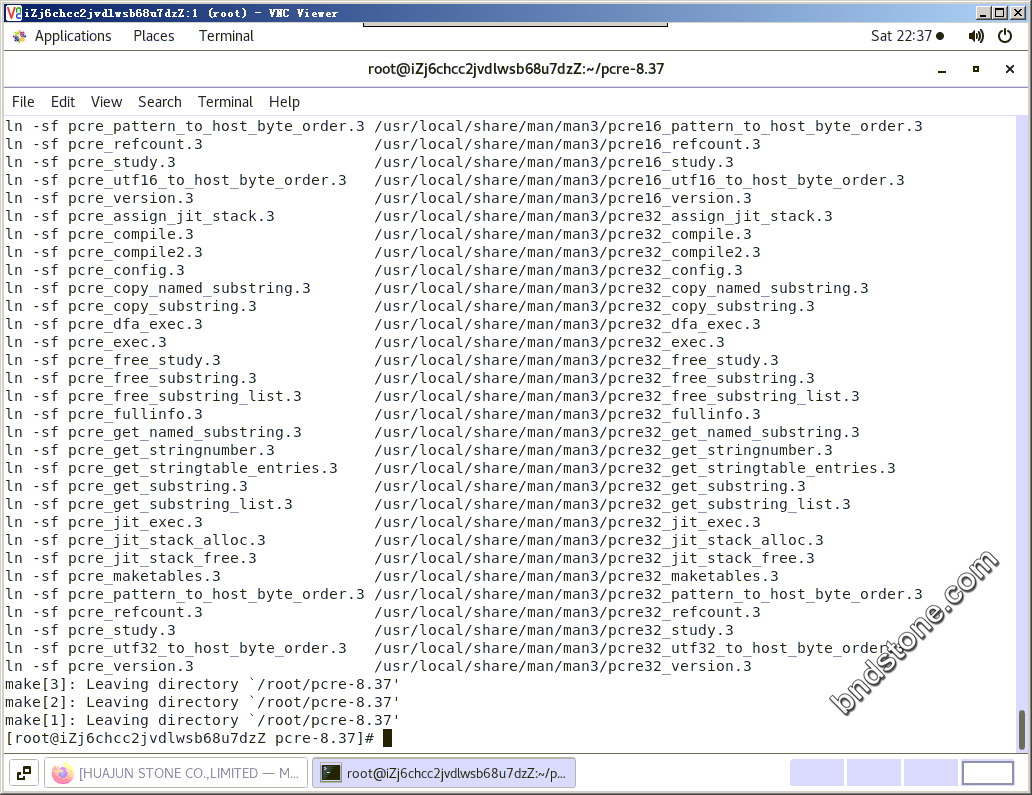
1 2 3 4 5 6 7 | cd /usr/src wget https://linuxsoft.bndstone.com/pcre/pcre-8.37.tar.gz tar -zxvf pcre-8.37.tar.gz cd /usr/src/pcre-8.37 yum install -y gcc gcc-c++ ./configure make && make install |
4-2. 安装 别的依赖
1 | yum install -y gcc zlib zlib-devel pcre-devel openssl openssl-devel |
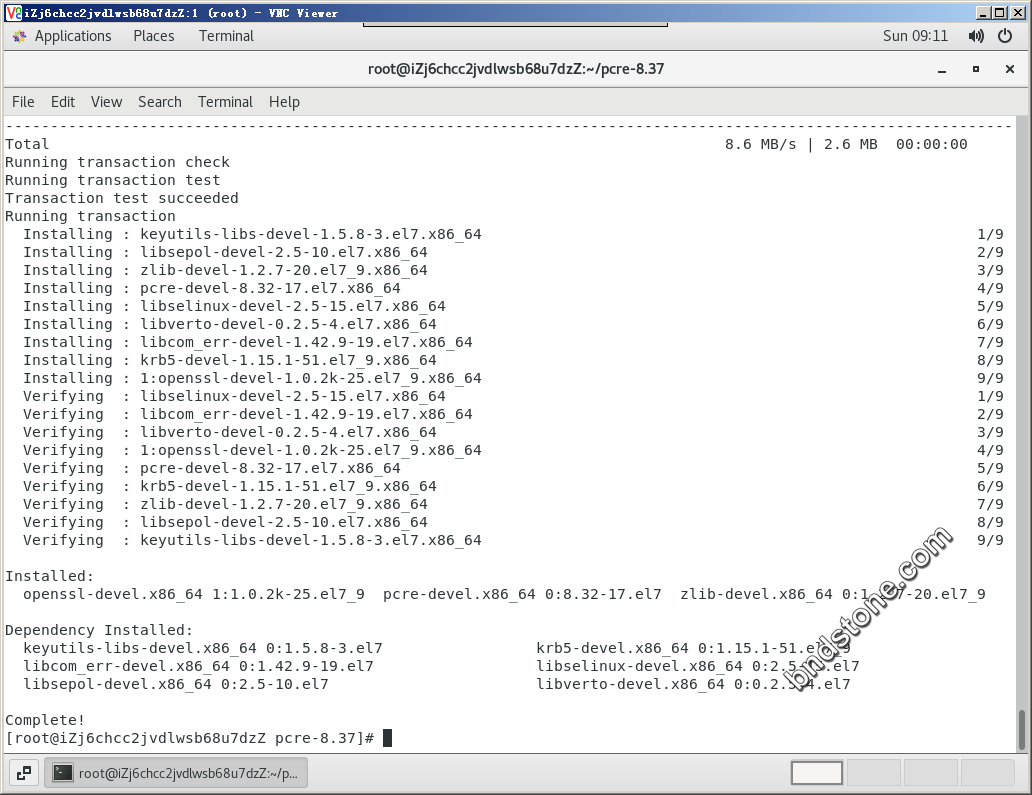
4-3. 安装 nginx
1 2 3 4 5 6 | cd /usr/src wget https://linuxsoft.bndstone.com/nginx/nginx-1.12.2.tar.gz tar -zxvf nginx-1.12.2.tar.gz cd /usr/src/nginx-1.12.2 ./configure make && make install |
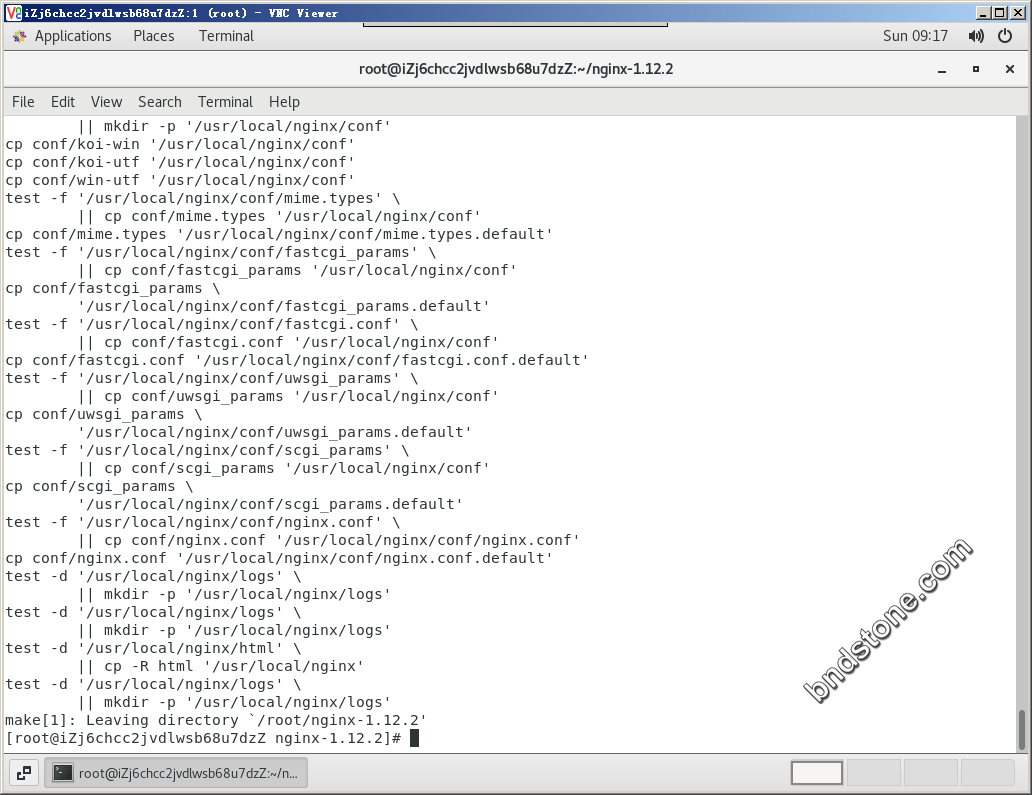
4-4. 启动nginx命令
1 2 3 | cd /usr/local/nginx/sbin/ ./nginx //启动nginx ./nginx -s reload //重启nginx |
4-5. 修改配置文件 nginx.conf
1 2 | cd /usr/local/nginx/conf vi nginx.conf |
1 2 3 4 5 6 7 8 9 10 11 12 13 14 15 16 17 | http { ...... upstream my_server{ server 8.218.77.154:8080 weight=1; server 8.218.77.154:8081 weight=1; } ...... server { location / { ...... proxy_pass http://my_server; } ...... } } |
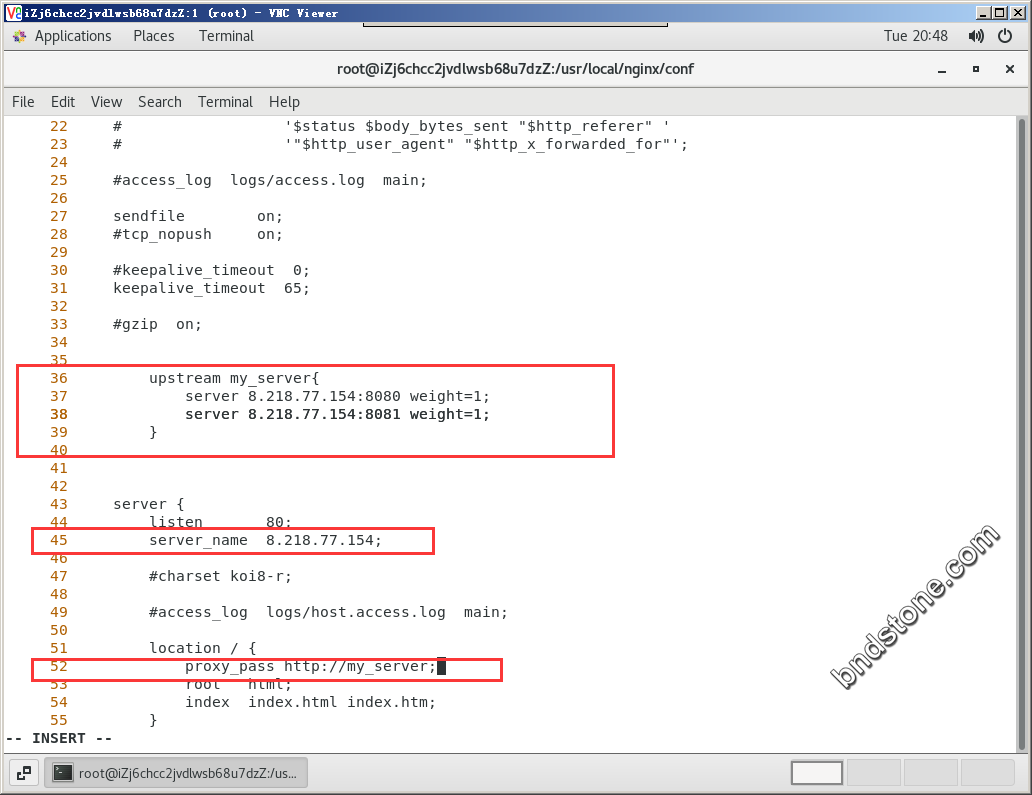
4-6. 保存后重新加载 nginx
1 2 | cd /usr/local/nginx/sbin/ ./nginx -s reload |
4-7. 放行端口80
1 2 3 | firewall-cmd --list-all firewall-cmd --permanent --add-port=80/tcp firewall-cmd --reload |
4-8. 阿里云后台放行端口80.

4-9. 测试成功
http://8.218.77.154/edu/a.html
5. nginx分配服务器的策略
指每个请求按时间顺序逐一分配到不同的后端服务器,如果后端服务器down掉,能自动删除.
weight 代表权重,默认为1,权重越高,被分配的客户端越多.
例如:
1 2 3 4 | upstream my_server{ server 8.218.77.154:8080 weight=5; server 8.218.77.154:8081 weight=10; } |
每个请求按访问ip的hash结果分配,这样每个访客固定访问一个后端服务器,可以解新session的问题.
例如:
1 2 3 4 5 | upstream my_server{ ip_hash server 8.218.77.154:8080; server 8.218.77.154:8081; } |
按后端服务器的响应时间来分配请求,响应时间短的优先分配.
例如:
1 2 3 4 5 | upstream my_server{ server 8.218.77.154:8080; server 8.218.77.154:8081; fair } |