PageSpeed和LNMP无缝结合教程加上Cron实现5分钟一次清除缓存
1 2 3 4 5 6 7 8 | https://bbs.vpser.net/forum.php?mod=viewthread&tid=13305&highlight=pagespeed https://zls.chinastonetops.com/?p=814 PHP安装 (结合之前的nginx安装与mysql安装组合为lnmp) https://www.cnblogs.com/ywrj/p/9404394.html Centos7下编译安装Nginx、Mysql、PHP(文章底部包含一键安装脚本) https://www.jianshu.com/p/b25afb669337 |
第一步:
Google Computer Engineer 开通及允话root登陆
[https://zls.chinastonetops.com/?p=727]
1 2 | sudo su vi /etc/ssh/sshd_config |
1 2 3 4 5 | 37 LoginGraceTime 2 #去掉,改为600 38 PermitRootLogin no 改为yes 39 StrictModes yes #去掉 65 PasswordAuthentication no 改为 yes |
1 2 | passwd root systemctl restart sshd.service |
第二步:安装LNMP服务
[https://zls.chinastonetops.com/?p=125]
1 2 3 4 | yum -y install screen sudo screen -S lnmp yum install wget -y wget https://linuxsoft.chinastonetops.com/lnmp/lnmp1.6.tar.gz -cO lnmp1.6.tar.gz && tar zxf lnmp1.6.tar.gz && cd lnmp1.6 && ./install.sh lnmp |

1. 修改./upgrade_nginx.sh 参数 [第60行,第62行都要修改]
${NginxMAOpt} 修改为 –add-module=/root/nginx/incubator-pagespeed-ngx-latest-stable
cd /root/lnmp1.6/include/
1 | vi ./upgrade_nginx.sh |
1 | ./configure --user=www --group=www --prefix=/usr/local/nginx --with-http_stub_status_module --with-http_ssl_module --with-http_spdy_module --with-http_gzip_static_module --with-ipv6 --with-http_sub_module ${Nginx_With_Openssl} ${Nginx_Module_Lua} ${NginxMAOpt} ${Nginx_Modules_Options} |
改成
1 | ./configure --user=www --group=www --prefix=/usr/local/nginx --with-http_stub_status_module --with-http_ssl_module --with-http_spdy_module --with-http_gzip_static_module --with-ipv6 --with-http_sub_module ${Nginx_With_Openssl} ${Nginx_Module_Lua} --add-module=/root/nginx/incubator-pagespeed-ngx-latest-stable ${Nginx_Modules_Options} |

2. 下载ngx_pagespeed并解压到/root/nginx目录下
1 2 3 4 | mkdir /root/nginx/ cd /root/nginx wget https://github.com/pagespeed/ngx_pagespeed/archive/latest-stable.tar.gz tar zxvf latest-stable.tar.gz |
3. 下载psol 库
1 2 3 | cd /root/nginx/incubator-pagespeed-ngx-latest-stable wget https://dl.google.com/dl/page-speed/psol/1.13.35.2-x64.tar.gz tar -xzvf 1.13.35.2-x64.tar.gz |
3. 然后执行升级脚本:
1 2 | cd /root/lnmp1.6/ bash ./upgrade.sh nginx |

4. 升级版本还是选1.16.0 [用原来版本不要升]
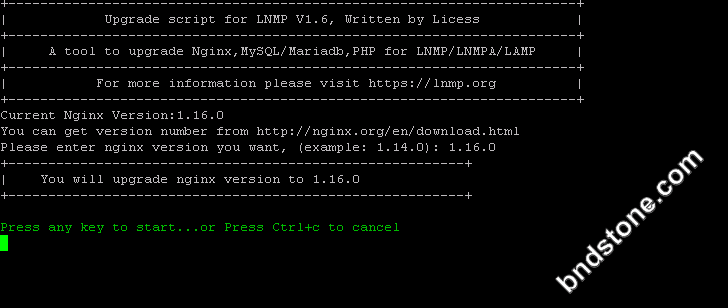
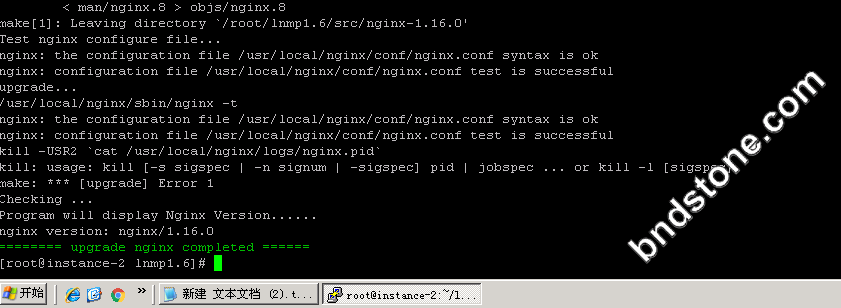
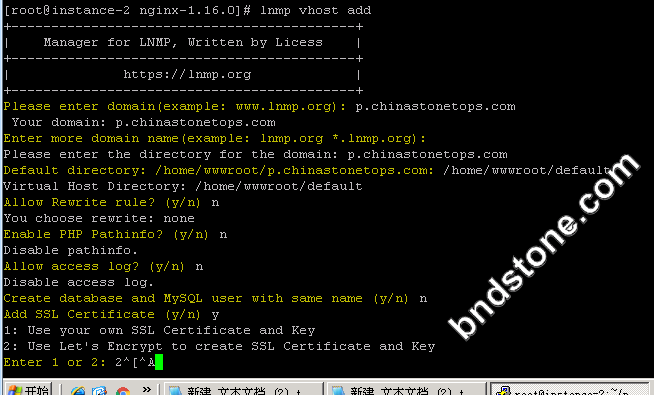
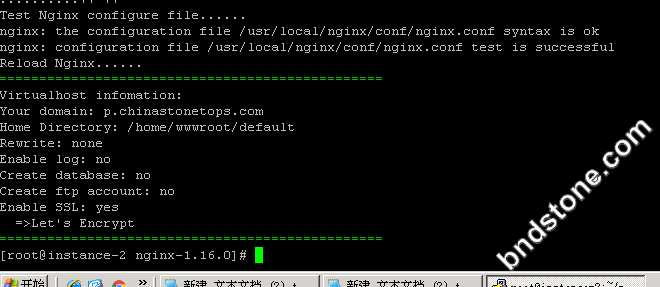
5. 绑定域名
lnmp vhost add
q.chinastonetops.com
/home/wwwroot/default
6. 检验是否成功
1 | /usr/local/nginx/sbin/nginx -t |
出现如下信息说明成功了
1 2 | nginx: the configuration file /usr/local/nginx/conf/nginx.conf syntax is ok nginx: configuration file /usr/local/nginx/conf/nginx.conf test is successful |
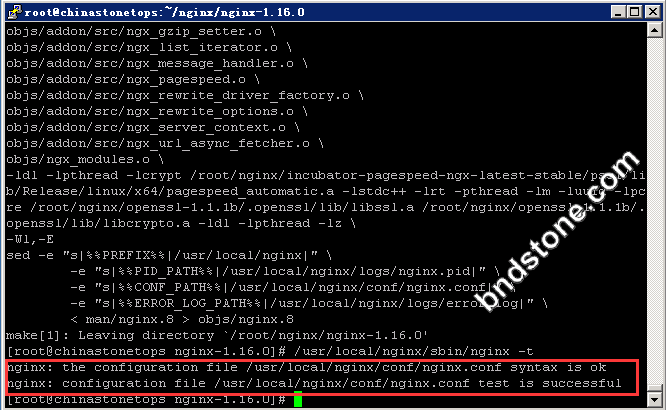
7. 重启及查看日志
重启
1 2 3 | sudo reboot // 重启才会生效 systemctl restart nginx systemctl status nginx |
查看日志
1 | journalctl -u nginx |
进一步确认已经完全成功.
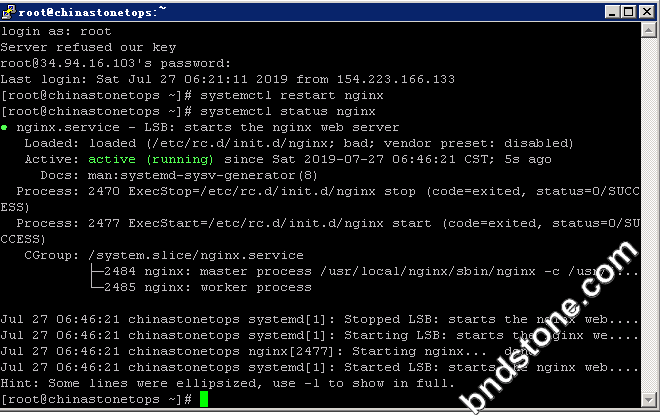
8. 进一步确认安装是否完全正确了.看php运行是否正常
http://34.94.16.103/phpinfo.php
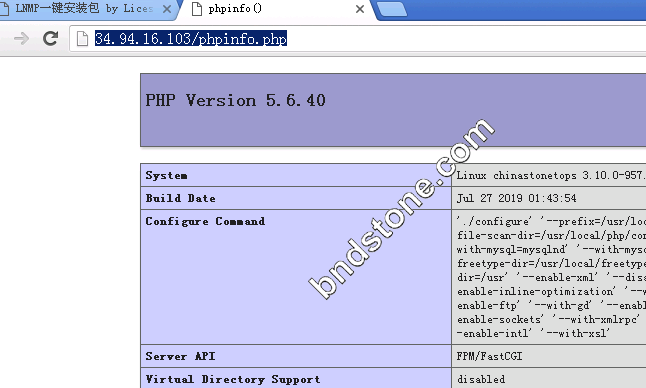
9. 然后在需要启用ngx_pagespeed模块网站的配置文件”server”文件块中加入如下内容,便启用了ngx_pagespeed加速功能:
1 | vi /usr/local/nginx/conf/vhost/q.chinastonetops.com.conf |
1 2 3 4 5 6 7 8 9 10 11 | # enable ngx_pagespeed pagespeed on; pagespeed FileCachePath /var/ngx_pagespeed_cache; # enable CoreFilters pagespeed RewriteLevel CoreFilters; # disable particular filter(s) in CoreFilters pagespeed DisableFilters rewrite_images; # enable additional filter(s) selectively pagespeed EnableFilters collapse_whitespace; pagespeed EnableFilters lazyload_images; pagespeed EnableFilters insert_dns_prefetch; |
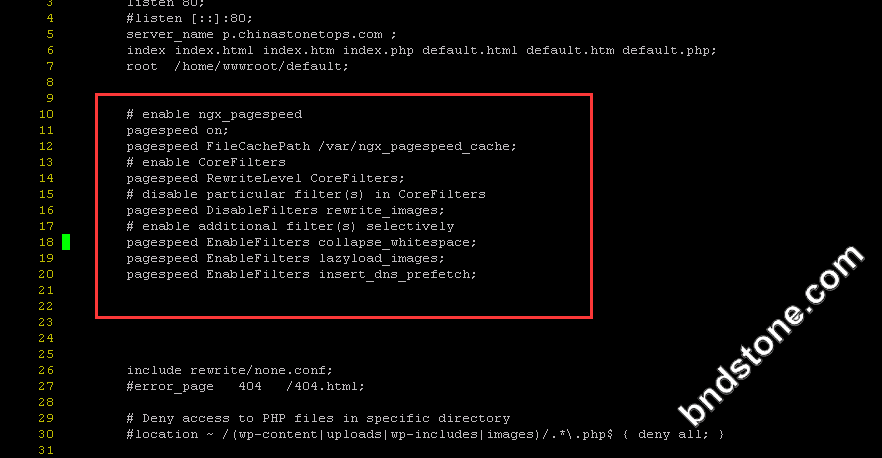
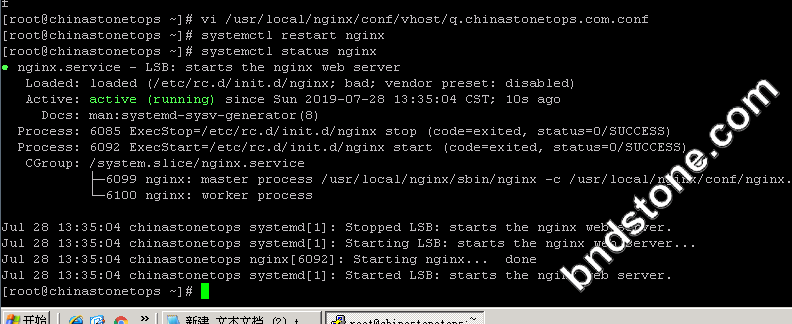
10. 重启服务
1 2 | systemctl restart nginx systemctl status nginx |
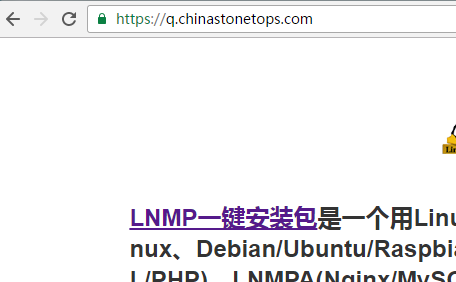
重启发现没报错,网页打开也正常
11. ngx_pagespeed模块功能验证
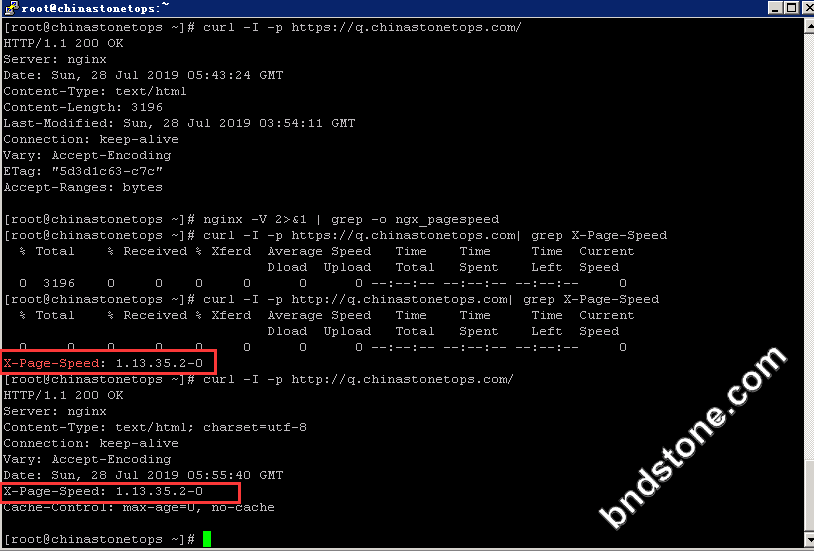
对于ngx_pagespeed模块是否生效,单纯通过肉眼观察网页打开时间是不现实的,好在我们可以通过命令来检查它是否生效。
最有效的工具当然是cURL工具,可以通过它来模拟访问网页,然后查看响应内容来确认ngx_pagespeed模块是否生效,例如curl本站时,会出现如图内容
curl -I -p http://localhost| grep X-Page-Speed
curl -I -p http://q.chinastonetops.com/
都显示已经成功加载 [因为刚才加载的只是http部份.https部份要另外加上去]
12. 加入pagespeed加速代码 [这步骤没有测试,暂时只能部份网站加载,怕全部加载的话有些网站不适用,出现问题]
1 | vi /bin/lnmp |
大概1080行有个root ${vhostdir};
在第1081行之后插入以下代码
1 2 3 4 5 6 7 8 9 10 11 12 13 14 15 16 17 18 19 20 21 22 23 24 25 26 27 28 29 30 | # 启用ngx_pagespeed pagespeed on; pagespeed FileCachePath /var/ngx_pagespeed_cache; # 禁用CoreFilters pagespeed RewriteLevel PassThrough; # 启用压缩空白过滤器 pagespeed EnableFilters collapse_whitespace; # 启用JavaScript库卸载 pagespeed EnableFilters canonicalize_javascript_libraries; # 把多个CSS文件合并成一个CSS文件 pagespeed EnableFilters combine_css; # 把多个JavaScript文件合并成一个JavaScript文件 pagespeed EnableFilters combine_javascript; # 删除带默认属性的标签 pagespeed EnableFilters elide_attributes; # 改善资源的可缓存性 pagespeed EnableFilters extend_cache; # 更换被导入文件的@import,精简CSS文件 pagespeed EnableFilters flatten_css_imports; pagespeed CssFlattenMaxBytes 5120; # 延时加载客户端看不见的图片 pagespeed EnableFilters lazyload_images; # 启用JavaScript缩小机制 pagespeed EnableFilters rewrite_javascript; # 启用图片优化机制 pagespeed EnableFilters rewrite_images; # 预解析DNS查询 pagespeed EnableFilters insert_dns_prefetch; # 重写CSS,首先加载渲染页面的CSS规则 pagespeed EnableFilters prioritize_critical_css; |
13. 建立缓存文件夹并赋予nginx用户权限
1 2 | sudo mkdir /var/ngx_pagespeed_cache sudo chown www:www /var/ngx_pagespeed_cache |

6.建议:添加Cron计划任务 每5分钟清除一次缓存 非常建议添加 修改Google PageSpeed的不完美之处
1 2 | vi /root/pagespeedcache.sh rm -r -f /var/ngx_pagespeed_cache |
然后保存
添加Cron计划任务
1 | crontab -e |
1 | */5 * * * * /root/pagespeedcache.sh |
使用比较简单,直接在文件末尾按crontab命令格式输入即可,Ctrl+x退出,再输y 回车保存。
更详细的安装或者设置详细参考:https://www.vpser.net/manage/crontab.html