HK VPS搭建gitlab
1 2 | https://www.vermax.cn/1295.html] https://blog.csdn.net/weixin_33795743/article/details/92725862 |
1. 阿里云新开了一台香港vps , IP是: 8.210.232.250 .centos 7.3 纯净系统
2. gitlab.vermax.cn A记录 指向 8.210.232.250
3-1. 搭建GitLab前提工作
环境配置
1. 系统:Red-Hat系列CentOS 7.x-x86_64(笔者采用的是CentOS7.3)
2. CPU:建议双核以上
3. 内存:4GB(官方建议4GB以上)
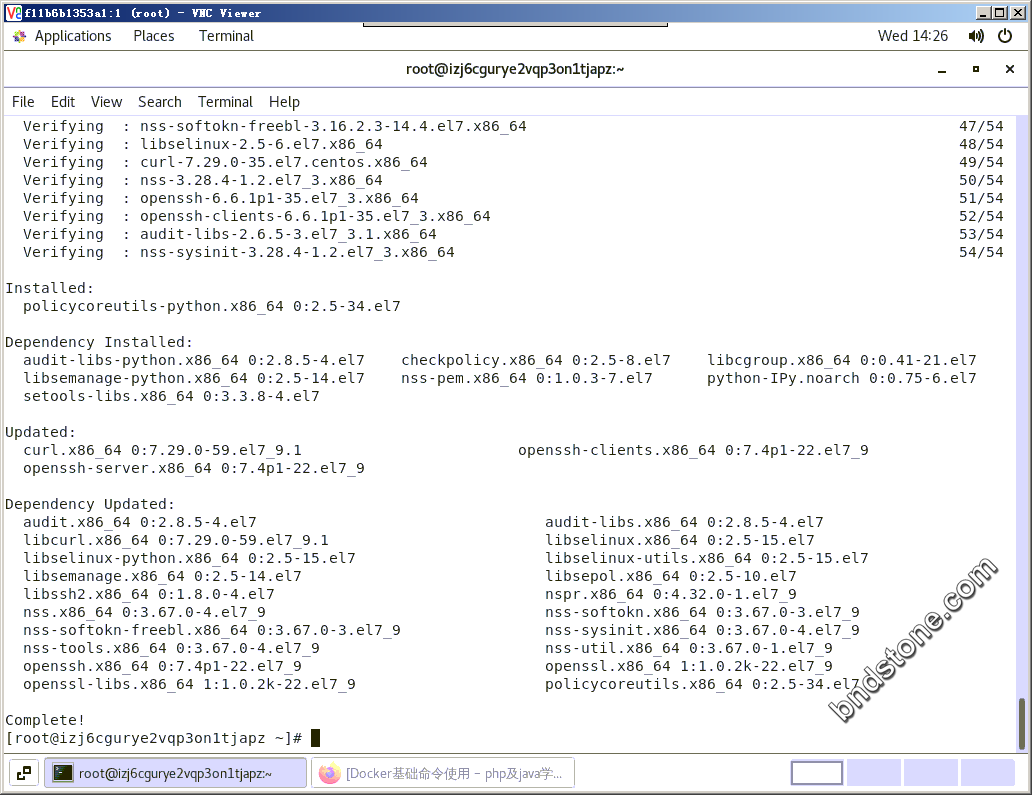
1 2 3 4 5 6 7 | yum install -y curl policycoreutils-python openssh-server openssh-clients //安装 curl policycoreutils-python openssh-server openssh-clients systemctl enable sshd.service //开机启动 sshd systemctl start sshd.service //运行 sshd systemctl start firewalld.service //运行 sshd systemctl enable firewalld.service //开机启动 firewalld firewall-cmd --zone=public --permanent --add-service=http //加入防火墙规则 firewall-cmd --reload |

3-2. 安装GitLab
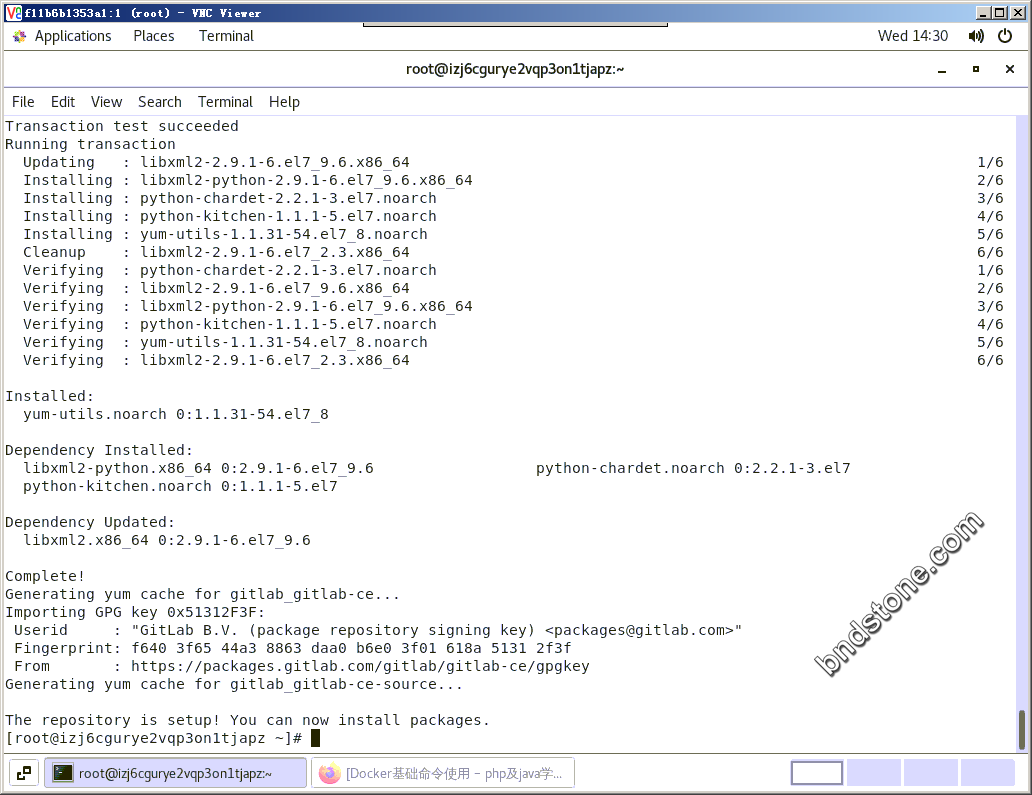
1 | curl -s https://packages.gitlab.com/install/repositories/gitlab/gitlab-ce/script.rpm.sh | sudo bash |
3-3. 好了,完成之后输入
1 | yum search gitlab // 可以看到 gitlab-ce.x86_64 |

可看到库已经添加进来,注意是上边那个,我的只有ce版,没有ee版,从这可以看到GitLab包含了 Nginx,PostgreSQL数据库,还有Redis
ee版是企业版,
ce版是社区版,
3-4. 有了这个之后就可以直接安装啦,输入
1 | yum install -y gitlab-ce.x86_64 |
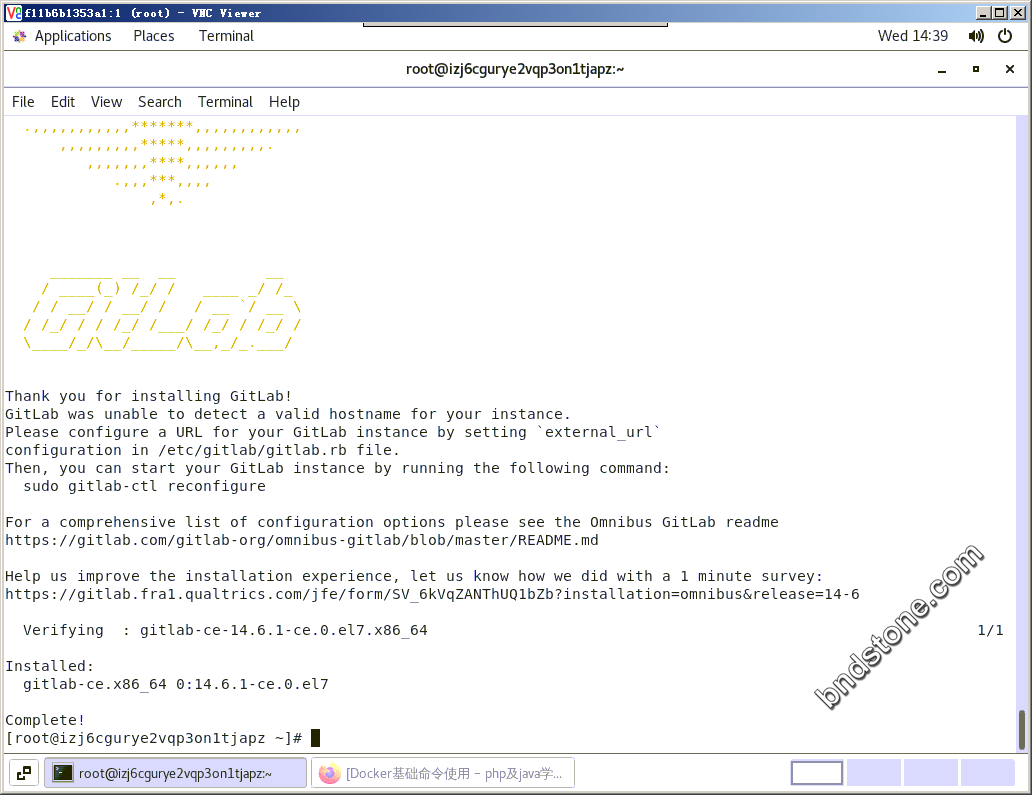
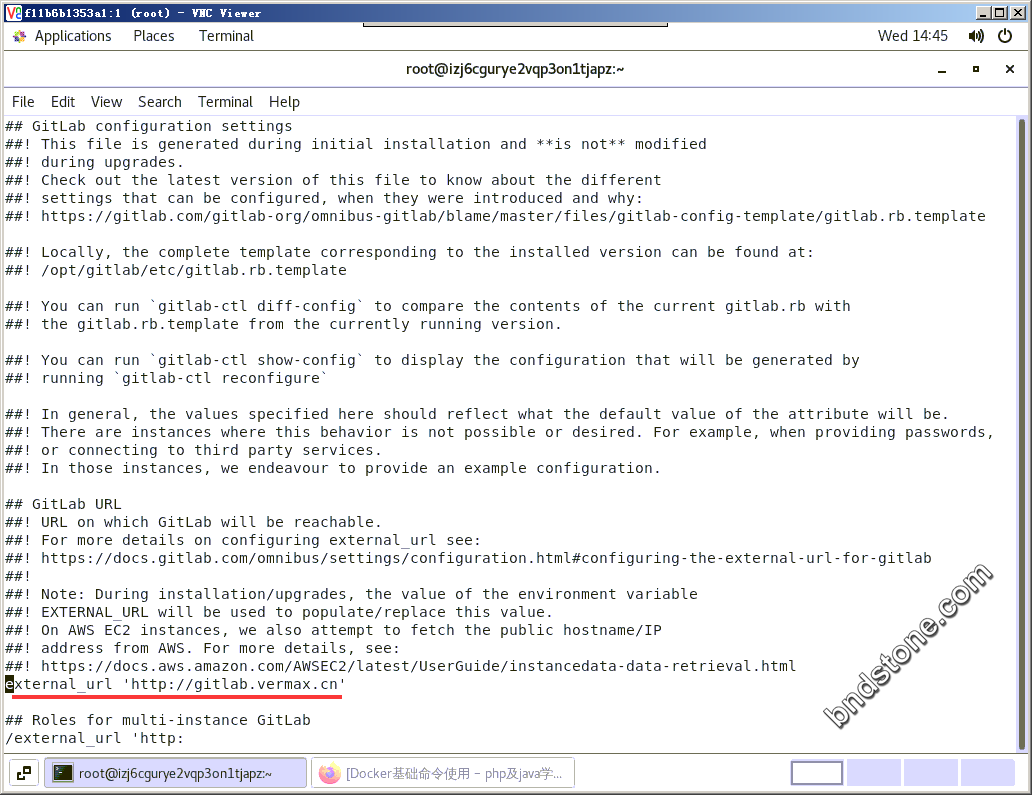
3-5. 此时此刻,GitLab 终于装上了! 然后按照提示 修改 /etc/gitlab/gitlab.rb 把 external_url 中的地址修改一下
1 | vi /etc/gitlab/gitlab.rb |
1 | external_url 'http://gitlab.vermax.cn' |
3-6. 完成之后执行
1 | gitlab-ctl reconfigure |
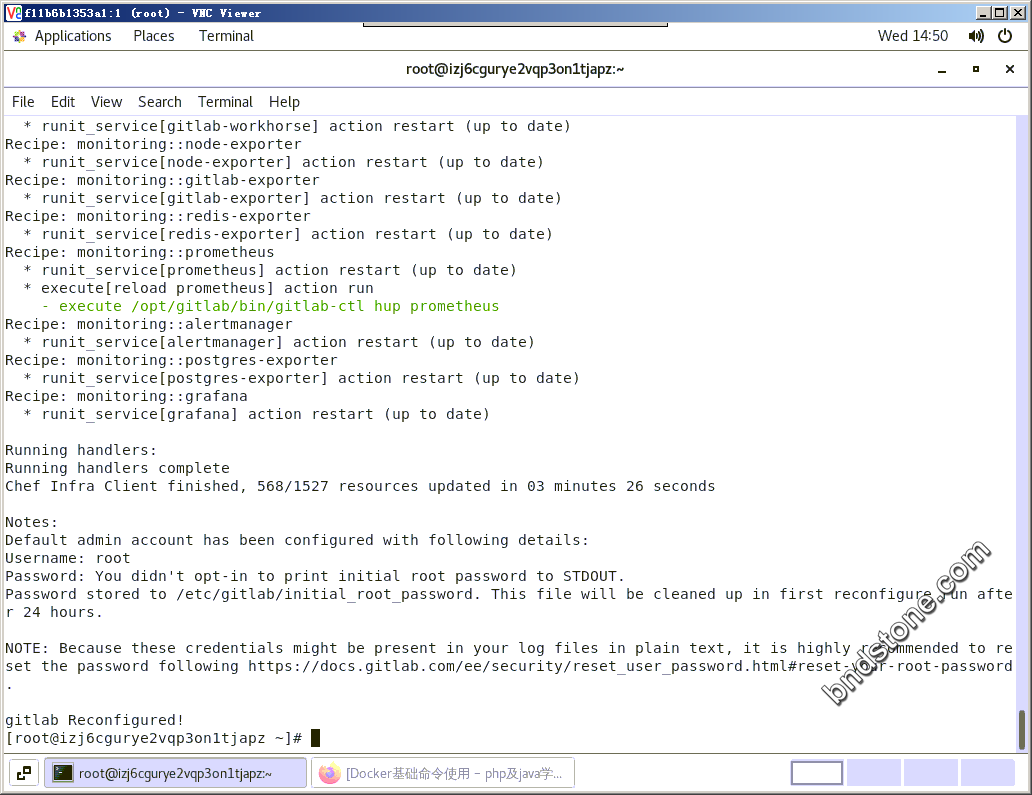
继续静静地等待配置和启动服务完成….
终于等到完成了,立马在浏览器中输入地址
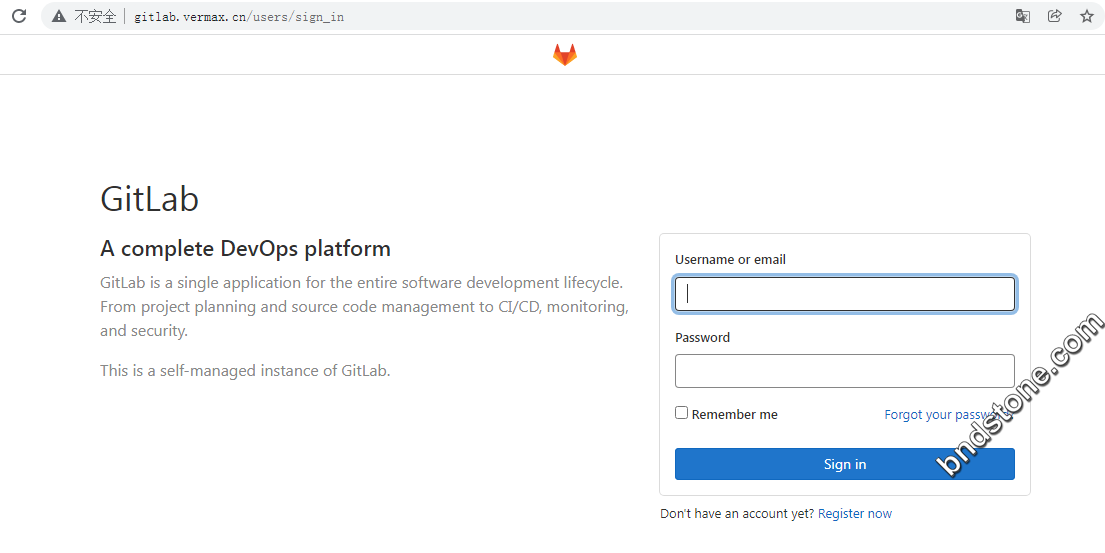
3-7. 账号root密码放在如下文件中
1 | /etc/gitlab/initial_root_password |